

My Favorite Photography Weather and the Camera Settings You Need
Some of my favorite photographs happen when the weather and light come together in just the right way. A misty morning, a colorful sunset, or a cloudy afternoon can completely change how a scene looks and feels. Learning to recognize these conditions helps you decide not only when to take your camera out, but also what types of photographs will work best.
Here are eight of my favorite photography conditions, what to look for, why they work, and the camera settings I recommend as a starting point.
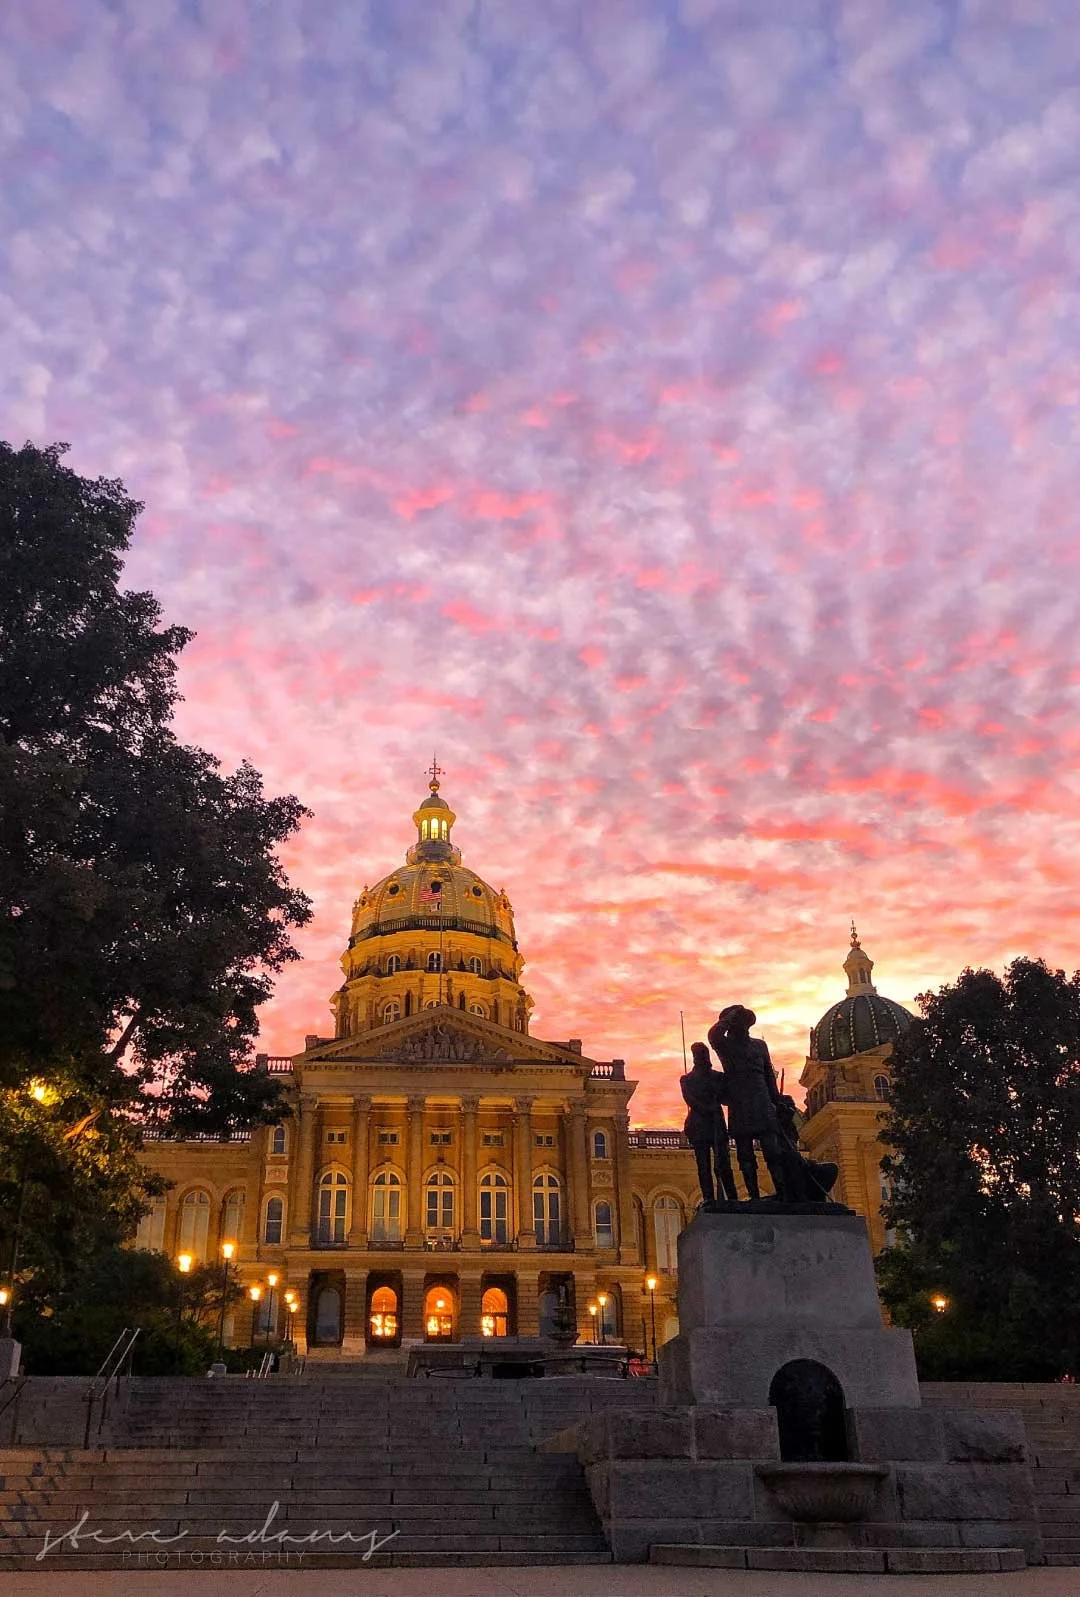
1. Early Morning Photography
What to look for: Mist, fog, dew-covered plants, calm water, soft sunlight, and long shadows.
Early morning is one of my favorite times to photograph nature because the light is often soft, the environment is quieter, and small details become easier to notice. When the temperature and humidity are right, you may find mist hovering above a lake or dew catching the first rays of sunlight.
The light changes quickly after sunrise, so pay attention to how it falls across your subject. Side lighting can bring out texture in tree bark, leaves, and rocks, while backlighting can make mist and dew glow.
Recommended camera settings:
Aperture: f/5.6 to f/11 for landscapes, or f/2.8 to f/5.6 for isolated subjects.
ISO: 100 to 400 when light permits.
Shutter speed: Adjust to the available light. Use a tripod if the exposure becomes too long for handheld shooting.
White balance: Daylight for natural colors, or Cloudy for a slightly warmer result.
Photography tip: Arrive before sunrise when possible. The most interesting light may appear before the sun clears the horizon, and mist can disappear quickly as the morning warms up.
2. Sunset Photography
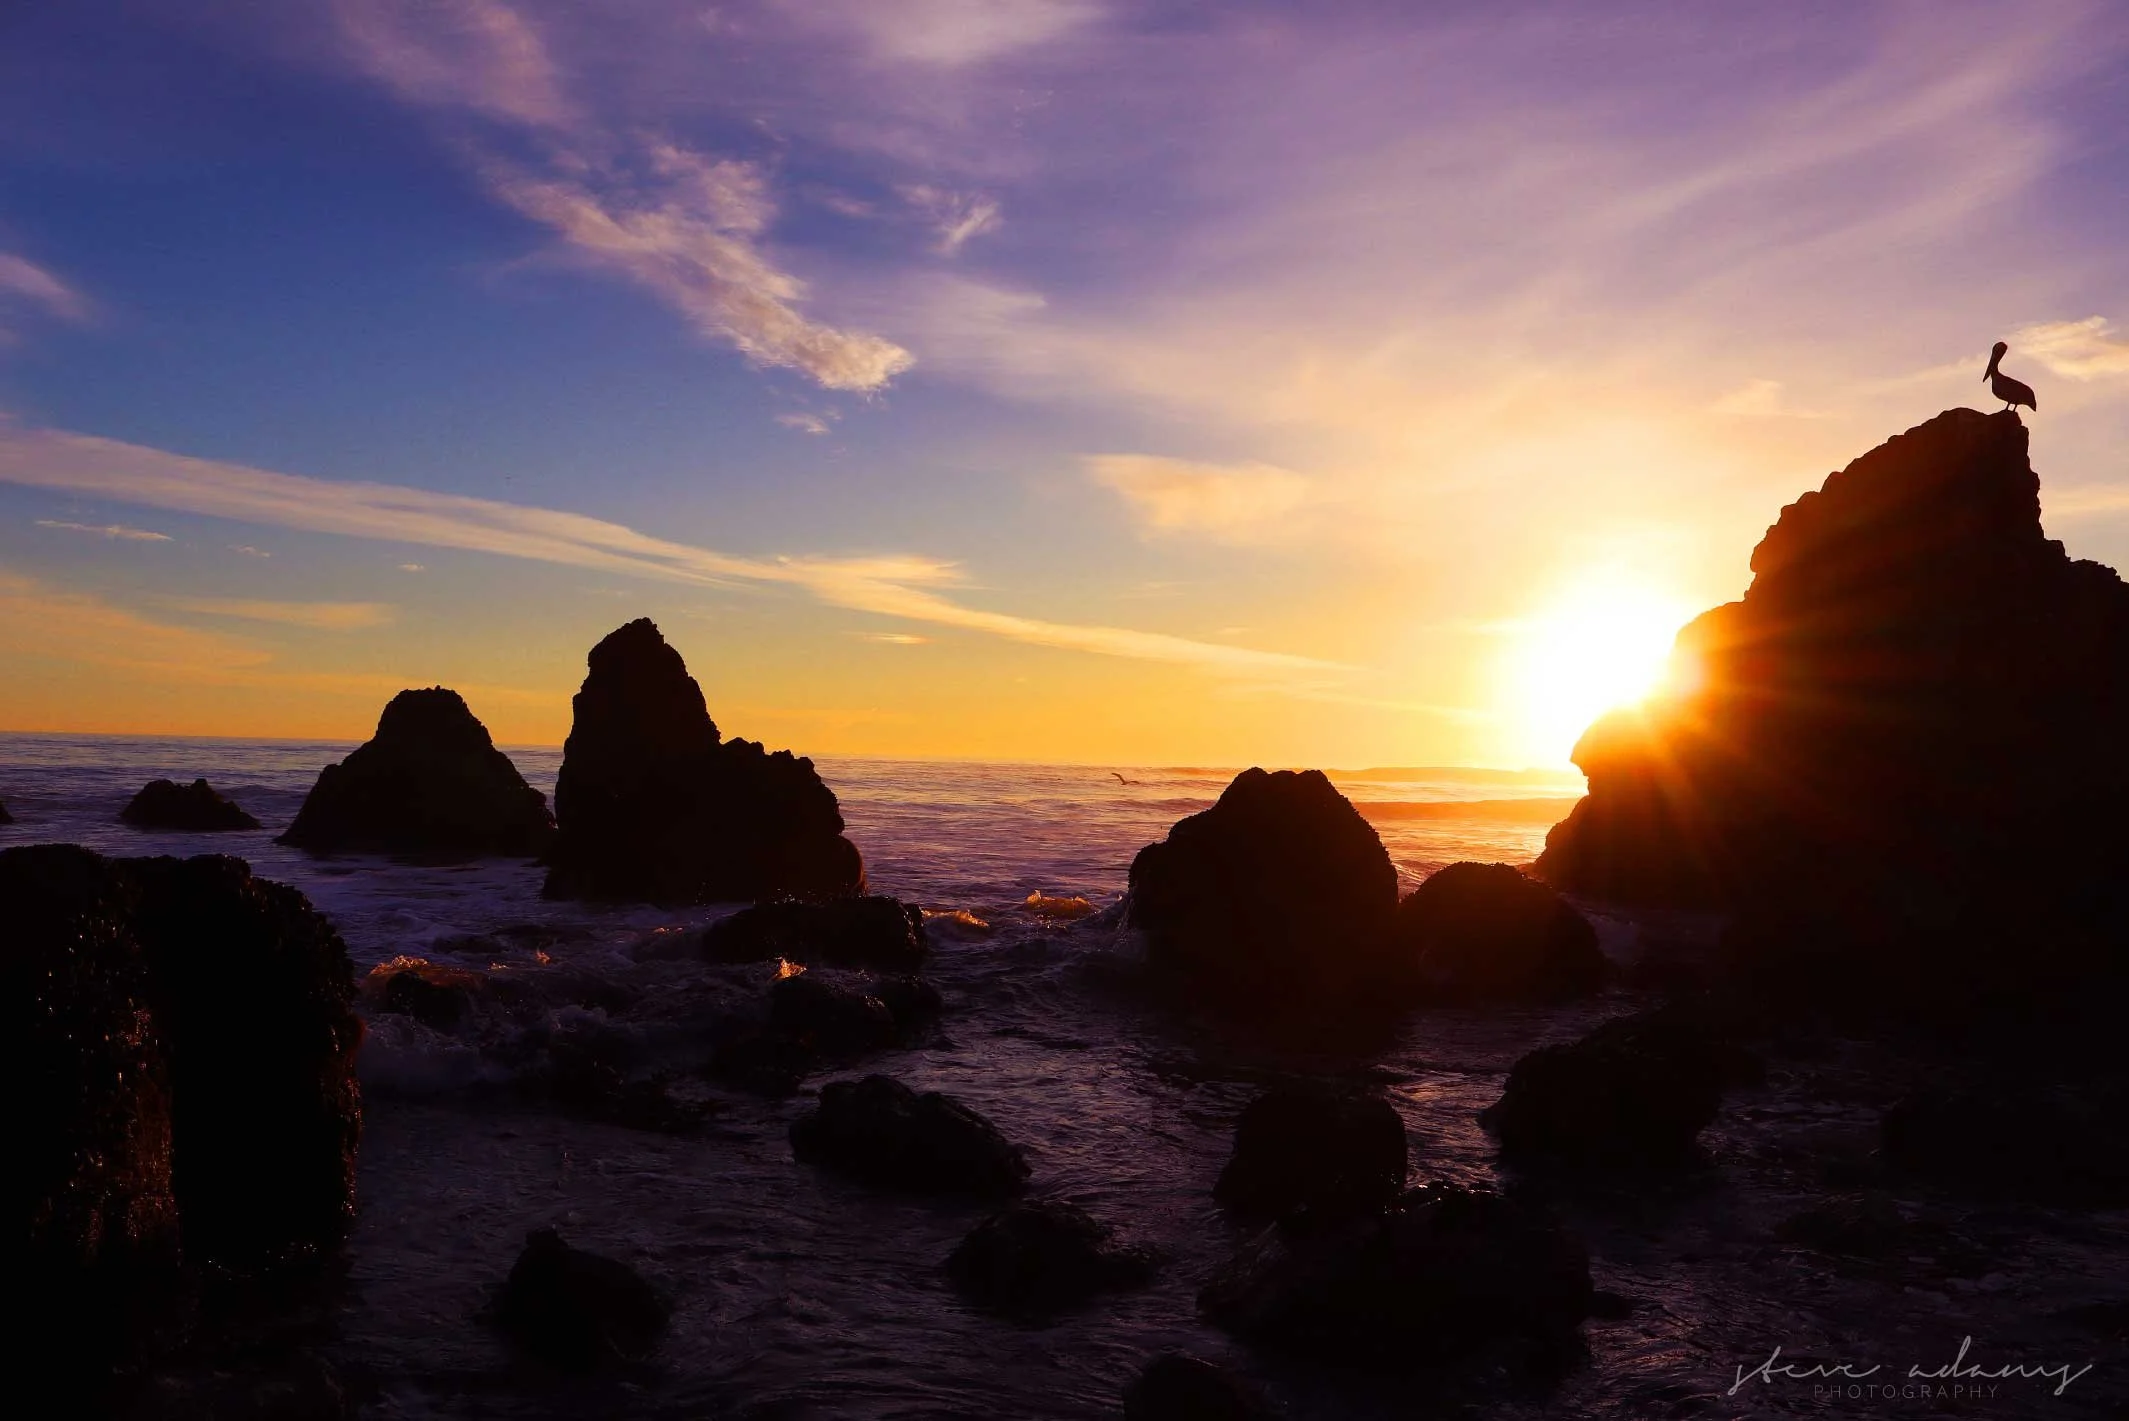
What to look for: Broken clouds, colorful horizons, reflective water, open landscapes, and subjects that catch the last direct sunlight.
Sunset offers a wonderful opportunity to create warm photographs with golden, orange, pink, and purple tones. The best conditions often occur when clouds are present to reflect and scatter sunlight, although a clear sky can also work beautifully. You never know exactly how the colors will develop, which is part of the fun.
Look beyond the sun itself. Coastal rocks, grasses, trees, buildings, and people can become interesting silhouettes, while the last direct sunlight can add warmth to flowers, landscapes, and architectural details. If you're photographing water, look for reflections that can add another layer to the composition.
Sunset light changes quickly, so I recommend deciding on a few compositions before the best color appears. That way, you can concentrate on the light rather than rushing to find a subject.
Recommended camera settings:
Aperture: f/8 to f/11 for landscapes with broad areas in focus.
ISO: 100 to 400.
Shutter speed: Adjust as the light fades, checking that moving subjects remain sharp.
White balance: Daylight to preserve the natural warmth of the scene.
Photography tip: Watch your highlights. If the brightest parts of the sky lose all their color and detail, reduce exposure slightly. You can also experiment with silhouettes by exposing for the bright sky rather than the foreground.
3. Dusk and Blue Hour Photography
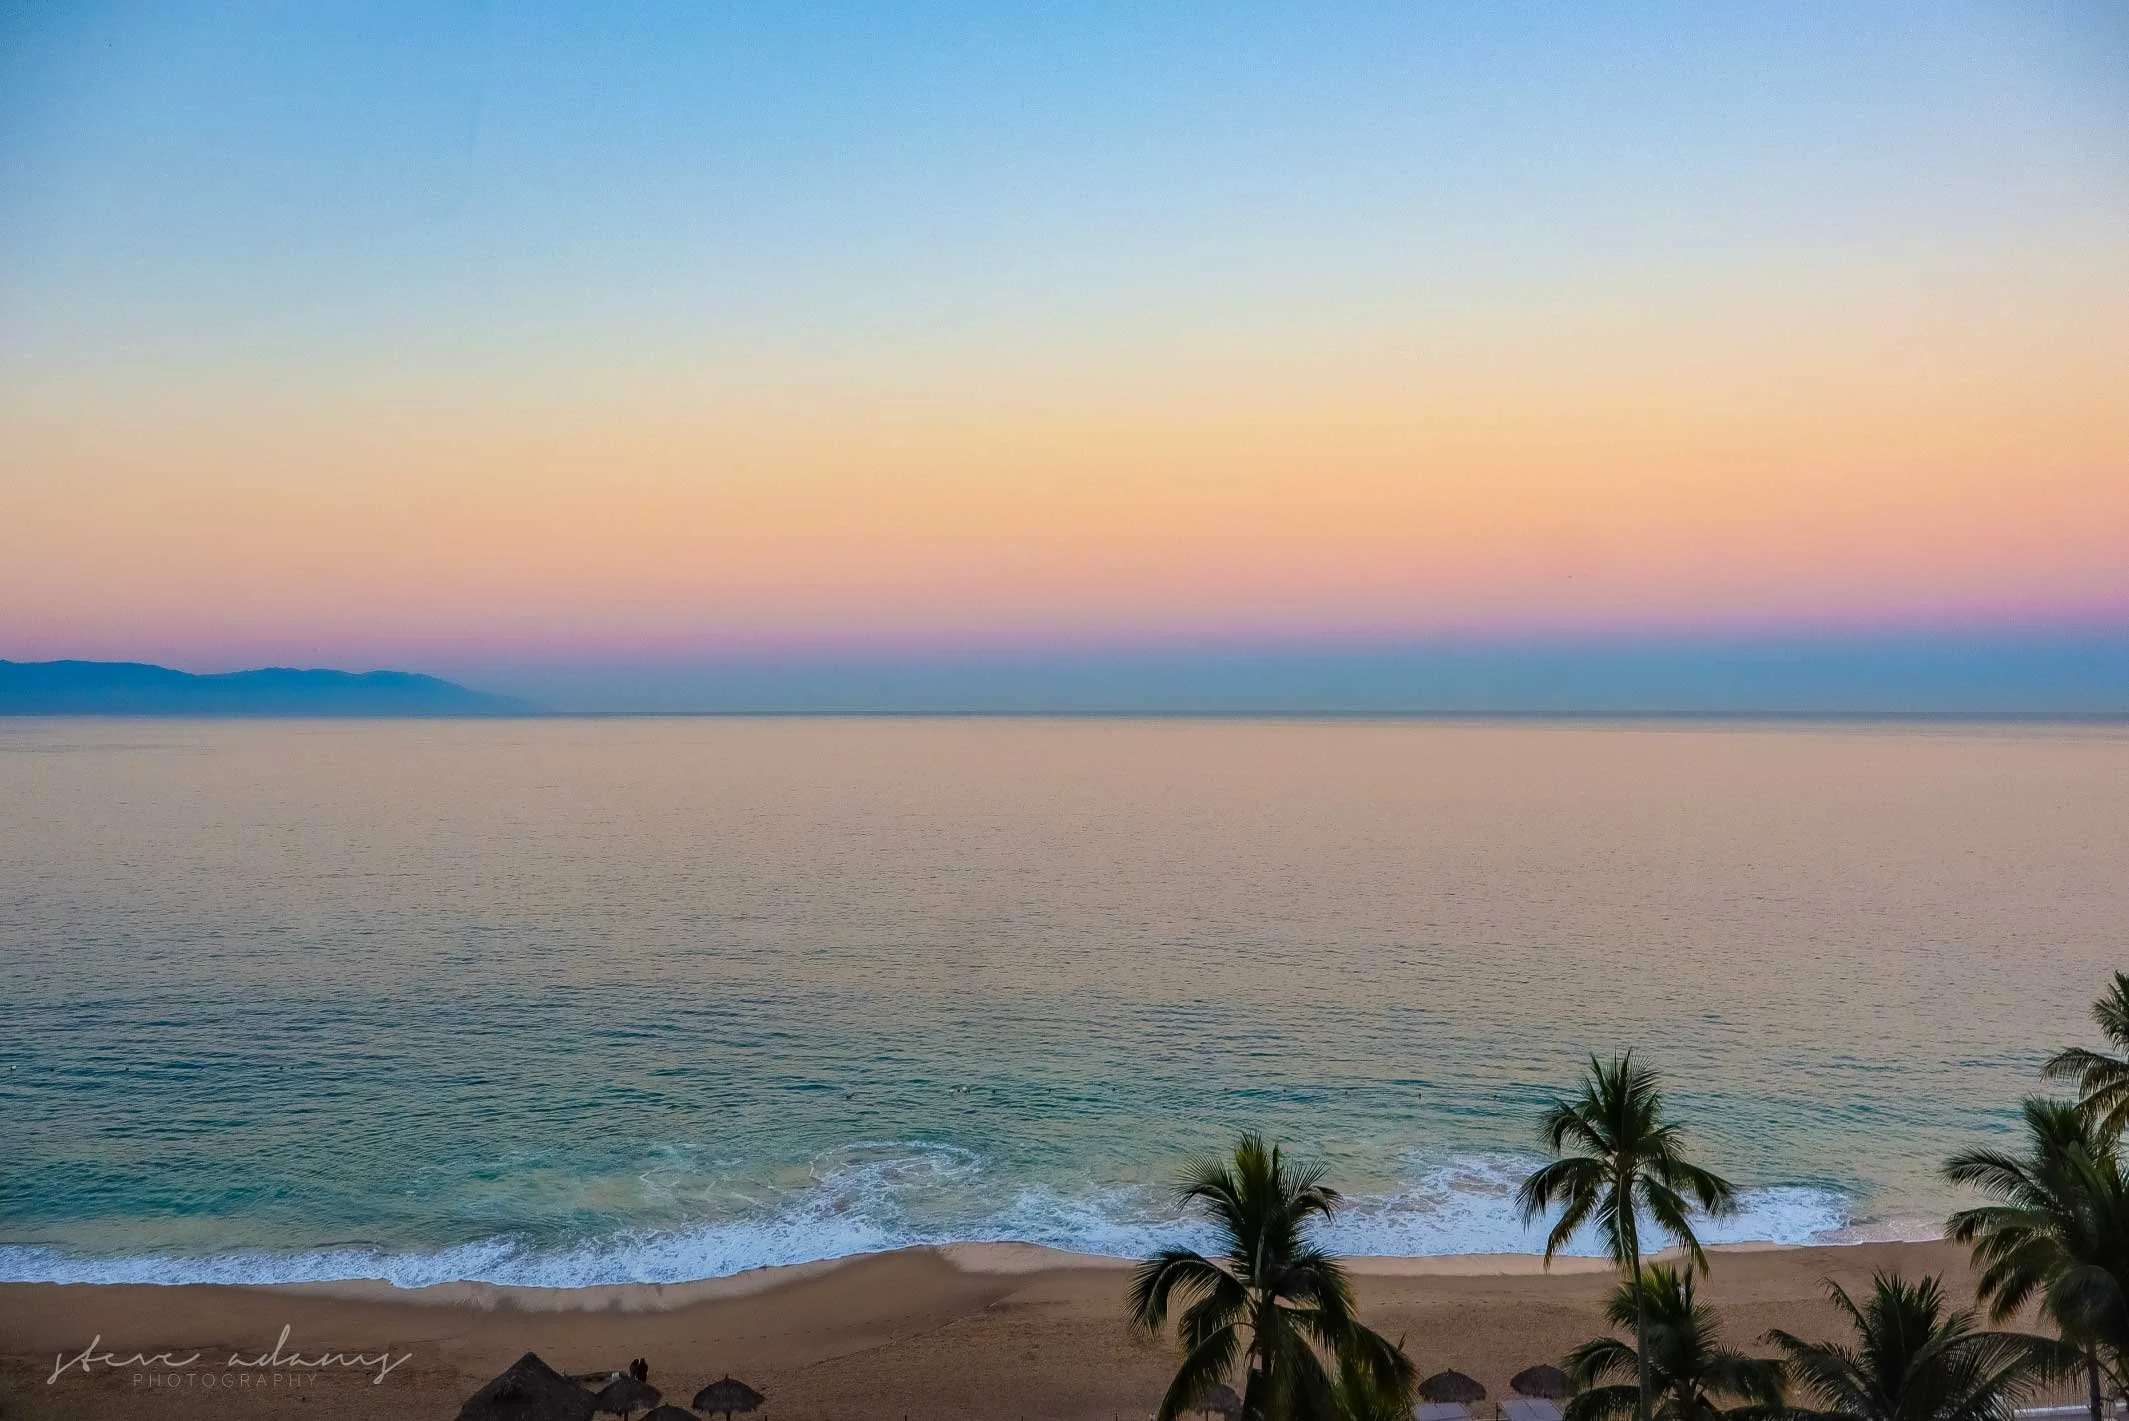
What to look for: Deep blue skies, city lights, illuminated buildings, reflections, and the last traces of daylight.
After sunset, the warm colors of the sky gradually give way to cooler blue and purple tones. This period, commonly called blue hour, is particularly useful for photographs that feel calm, atmospheric, or slightly moody. It's a great time to photograph cities, waterfronts, bridges, architecture, and landscapes with artificial lights.
One advantage of blue hour is the balance between the sky and illuminated subjects. Photographing a building while the sky still holds some color can create a more balanced image than waiting until the sky becomes completely black. Reflections in water can also add color and visual interest without needing a complicated composition.
Light levels drop quickly, so a tripod is especially helpful. It allows you to use a lower ISO and slower shutter speed for cleaner images. If you're photographing moving people or traffic, however, you may need a faster shutter speed and a higher ISO.
Recommended camera settings:
Aperture: f/5.6 to f/11 for detailed landscapes and architecture.
ISO: 100 to 800 when using a tripod, or higher for handheld photographs.
Shutter speed: Start around 1 to 10 seconds on a tripod, adjusting for exposure and movement.
White balance: Daylight or Auto, depending on the color you want to preserve.
Photography tip: Don't pack up immediately after sunset. Stay long enough to see how the scene changes as the artificial lights become more prominent.
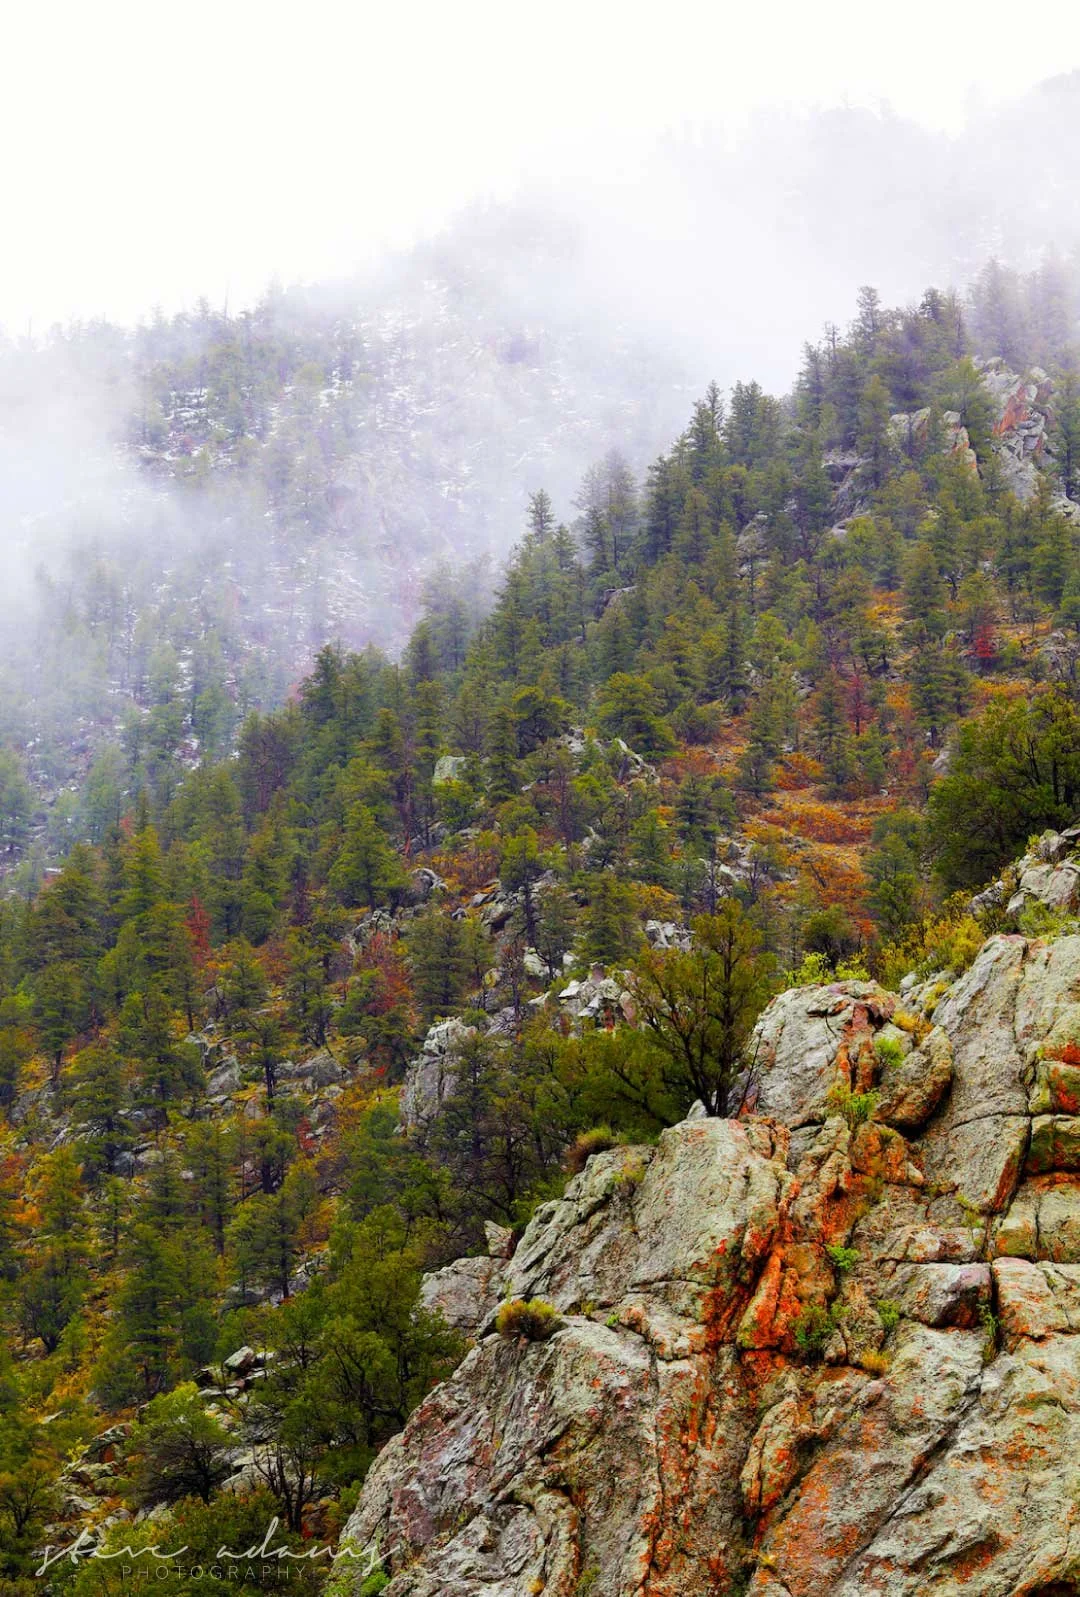
4. Cloudy Days
What to look for: Even cloud cover, rich foliage, colorful flowers, woodland details, and subjects that would be difficult to photograph in direct sunlight.
Cloudy weather can be excellent for photography because the clouds soften the light and reduce harsh shadows. This is especially useful when photographing subjects with a wide range of delicate colors or textures. Flowers, mushrooms, leaves, forest paths, and close-up nature subjects can all benefit from the softer illumination.
Overcast skies also give you more flexibility with your shooting position. You don't have to work around strong sunlight or worry as much about harsh shadows across a subject's face or surface. The result can be more even exposure and colors that appear rich without strong highlights competing for attention.
Recommended camera settings:
Aperture: f/4 to f/8, depending on how much of the scene you want in focus.
ISO: 100 to 400, increasing when necessary.
Shutter speed: Aim for at least 1/250 second for moving subjects, adjusting for the subject's speed.
White balance: Cloudy for warmer tones, or Auto for a neutral starting point.
Photography tip: Look for color and texture rather than dramatic shadows. Cloudy days are a good time to slow down and explore smaller details you might overlook in stronger light.
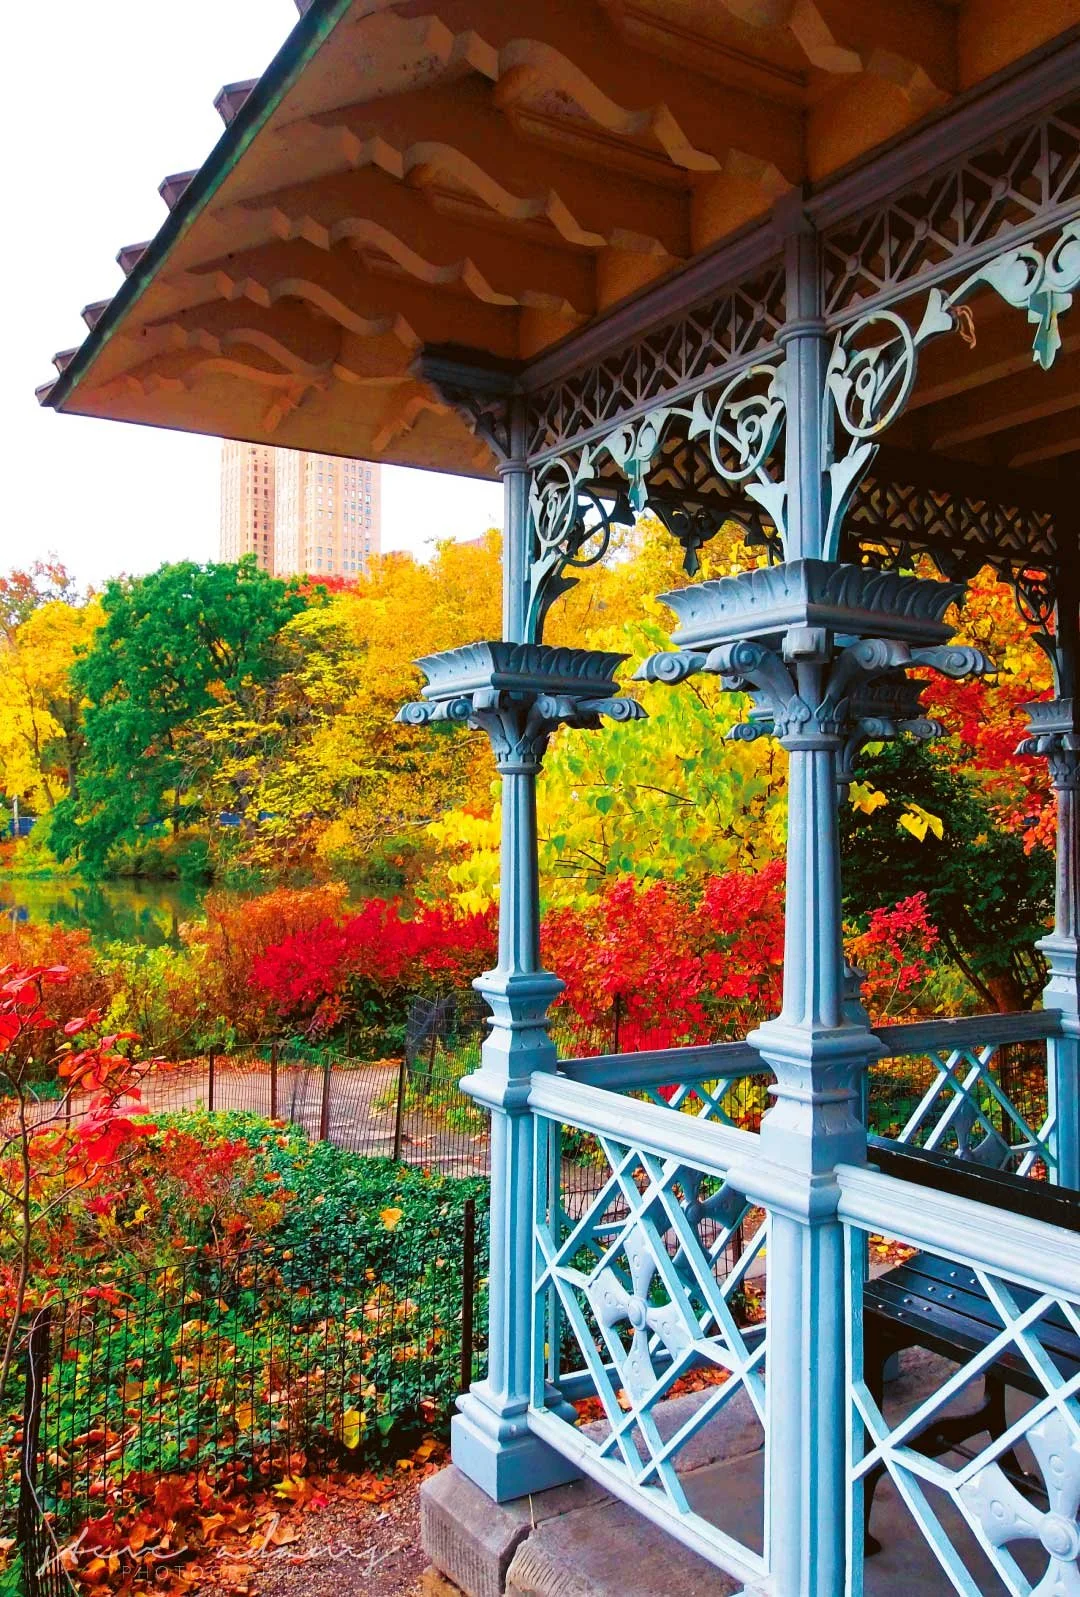
5. Deep Fall Photography
What to look for: Peak autumn foliage, colorful leaves on the ground, filtered sunlight, overcast skies, and contrasting warm and cool tones.
When autumn color reaches its peak, the landscape gives you a wide range of photographic opportunities. Reds, oranges, yellows, and deep greens can create rich compositions, whether you're photographing a forest, a country road, a park, or a single tree. This is also a good time to look for smaller details, such as leaves against dark tree trunks or colorful foliage reflected in still water.
Overcast conditions can help keep autumn colors rich and evenly exposed. If the sun is out, look for light filtering through the canopy or illuminating individual trees against a shaded background. These differences in brightness can give a photograph depth and help separate the main subject from its surroundings.
Try varying your perspective. You can even photograph fallen leaves at ground level to create a more intimate view of the season.
Recommended camera settings:
Aperture: f/8 to f/11 for landscapes, or f/2.8 to f/5.6 for isolated foliage.
ISO: 100 to 400.
Shutter speed: Keep it fast enough to manage moving leaves, particularly in windy conditions.
White balance: Daylight for natural autumn colors, or Cloudy for slightly warmer tones.
Photography tip: Watch your saturation. Autumn colors can look unnatural when pushed too far during editing. A balanced exposure and thoughtful composition often do more for the image than heavily boosting color.
6. Frosty Weather Photography
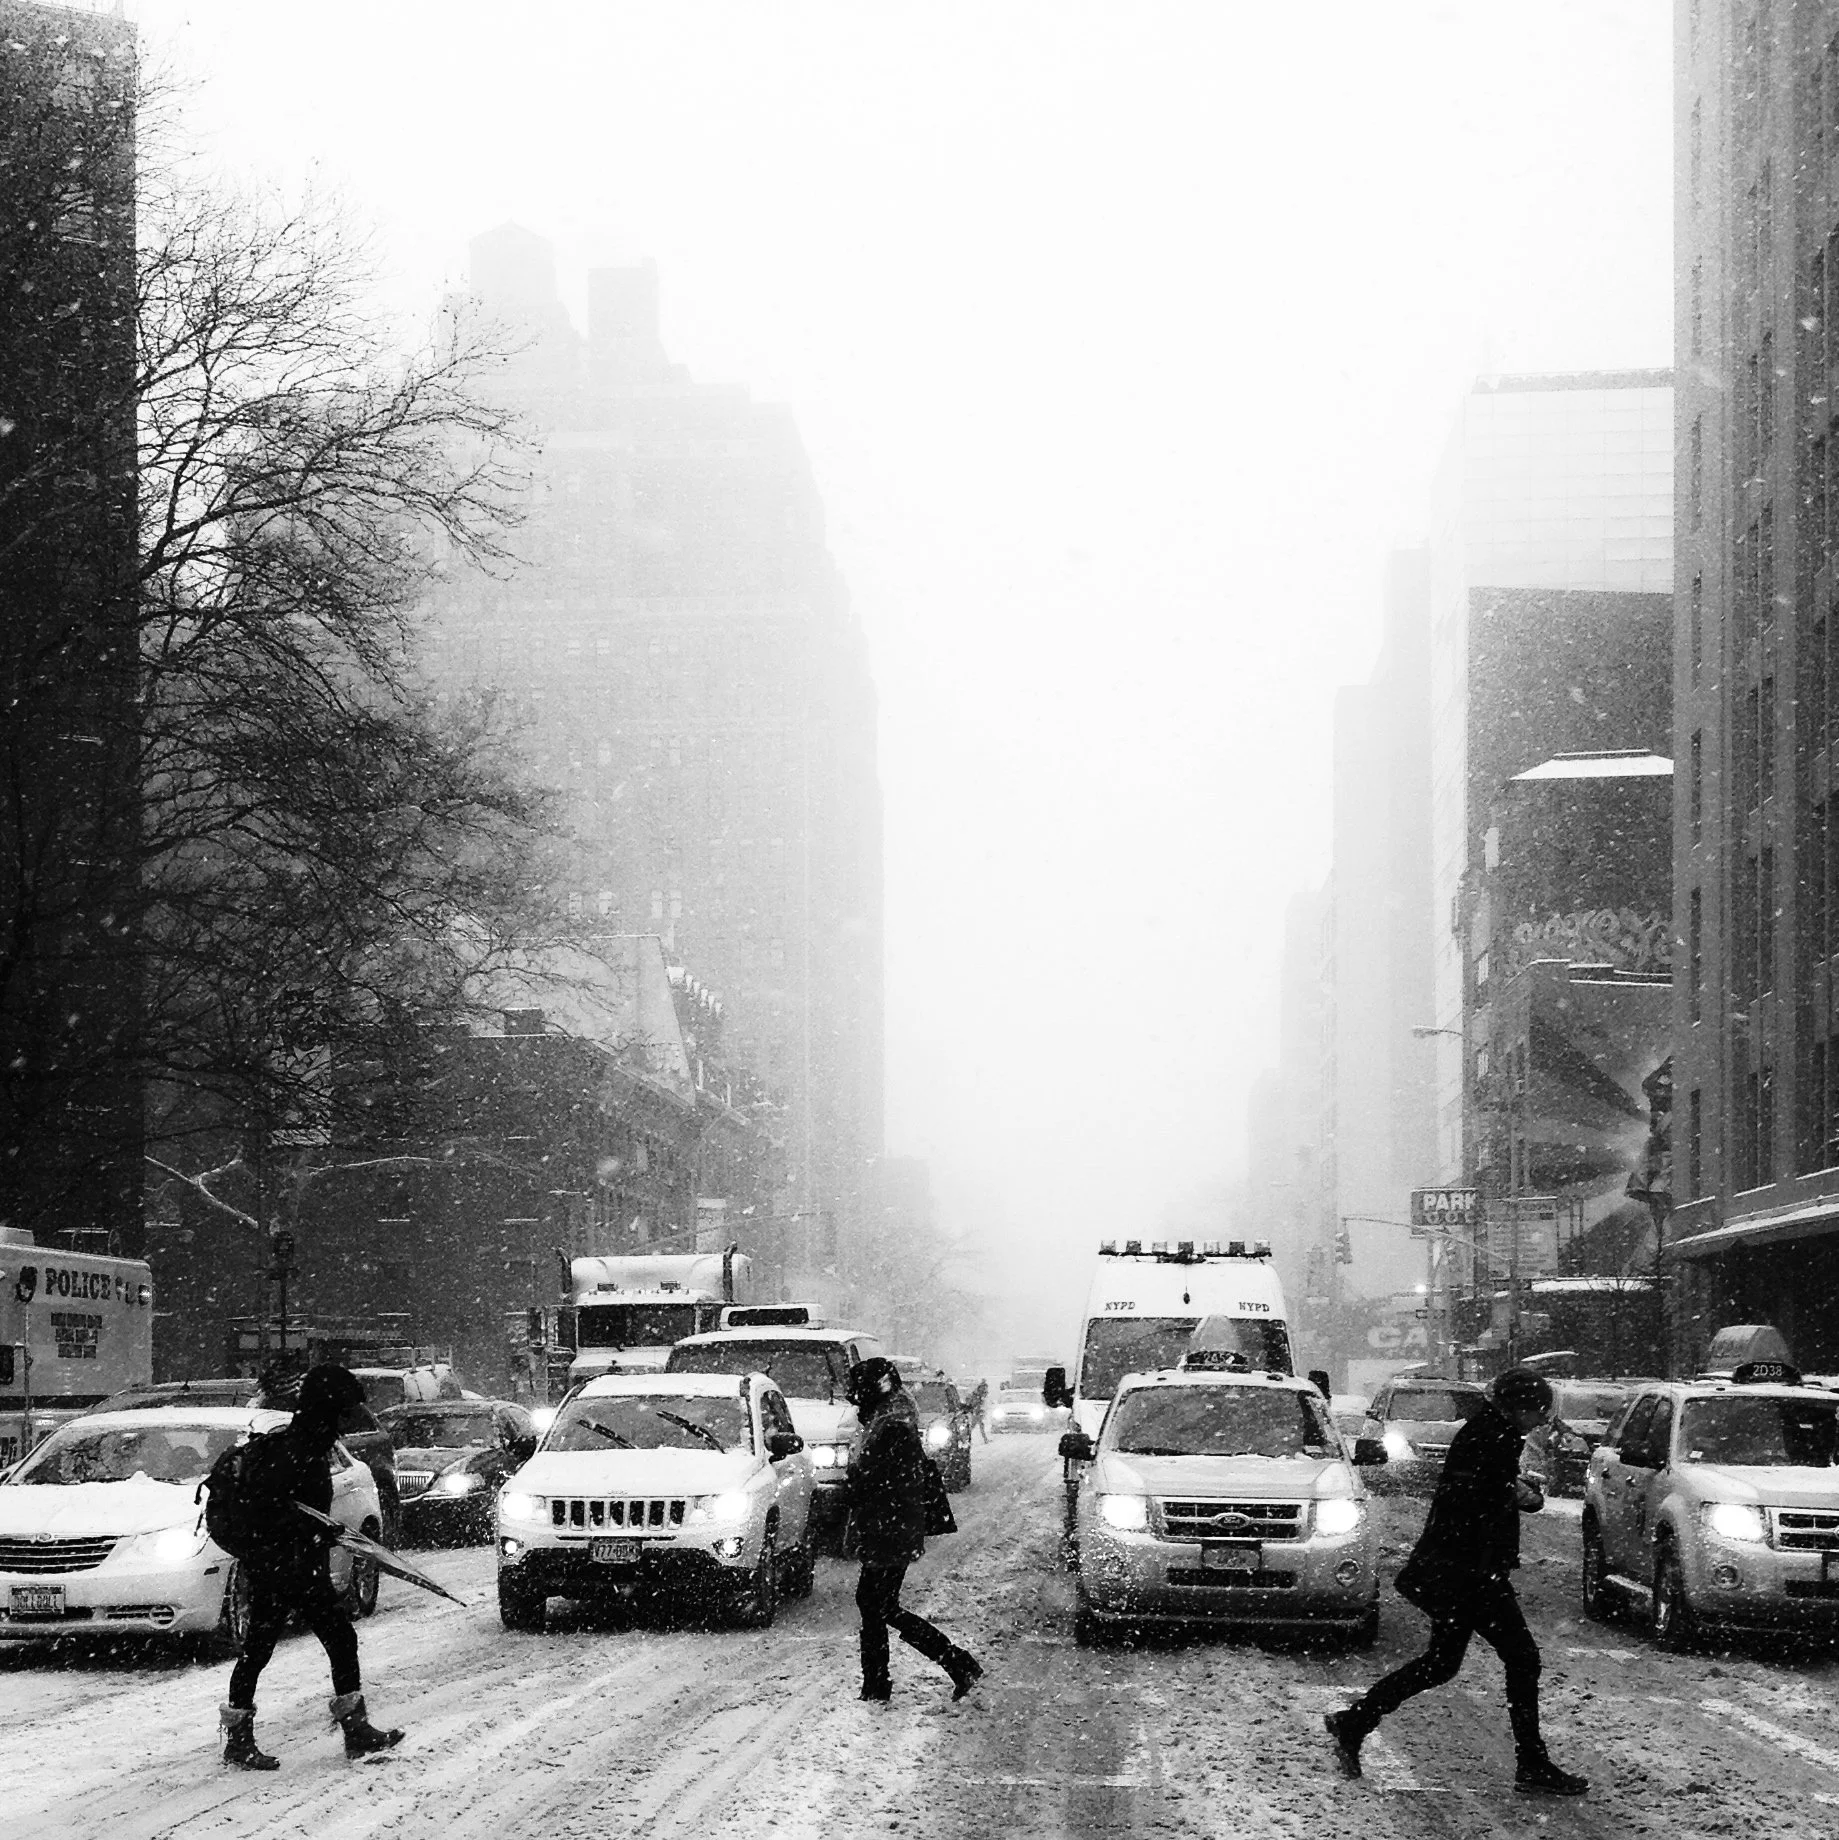
What to look for: Frost-covered leaves, frozen puddles, icy branches, frosted grass, and low winter sunlight.
Frost can transform an ordinary scene into something worth photographing. Familiar plants and landscapes take on new textures, and even a small patch of grass can become an interesting subject when ice crystals catch the light. This weather works particularly well for macro photography, minimalist compositions, and landscapes with cool, restrained colors.
Early morning is often the best time to look for frost before the sun warms the ground. Pay attention to the direction of the light. Side lighting can reveal the texture of ice crystals, while backlighting can make delicate frost patterns stand out against a darker background.
Exposure deserves a little extra attention in these conditions. Cameras can sometimes underexpose bright frost or snow because their metering systems try to make the scene closer to a middle brightness. The result can be gray-looking whites. Check your histogram and highlight warnings, then adjust exposure as needed.
Recommended camera settings:
Aperture: f/4 to f/8 for details, or f/8 to f/11 for landscapes.
ISO: 100 to 400.
Shutter speed: Use a faster speed for windblown plants, or a tripod for static subjects in low light.
Exposure compensation: Try +0.3 to +1 EV for bright frost or snow, checking that important highlights retain detail.
Photography tip: Get close and look for patterns. You don't need an entire frozen landscape to make a compelling winter photograph. A single frosted leaf can be enough.
7. California Bloom Season
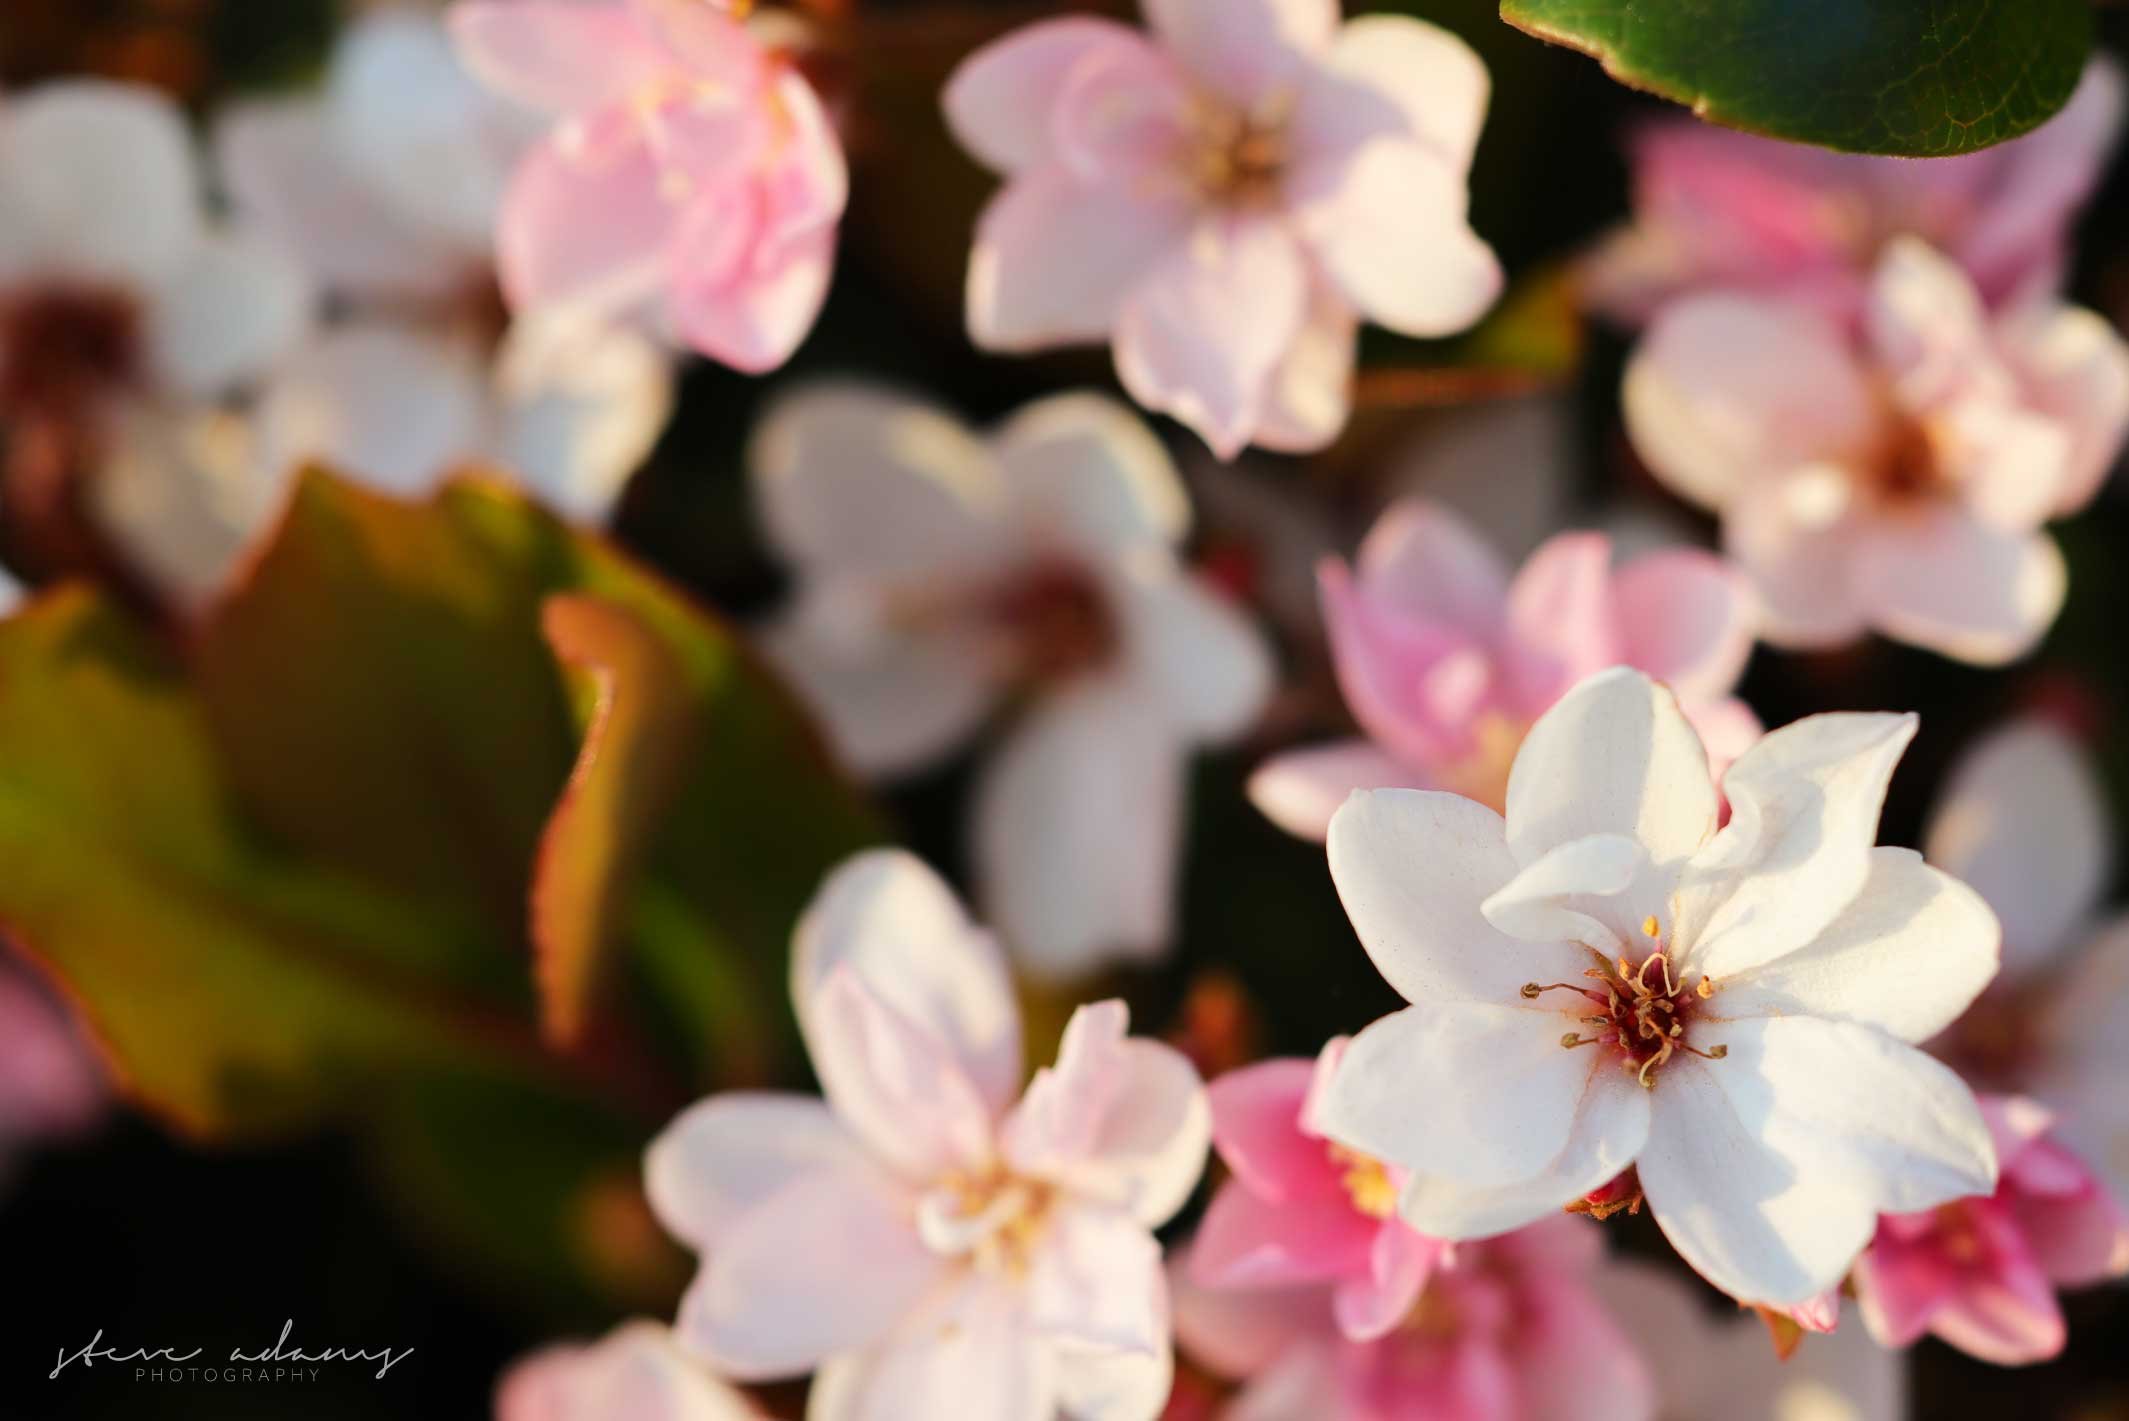
What to look for: Wildflower-covered hills, poppies, flowering plants, green hillsides, and soft morning or late-afternoon light.
California's spring bloom can create wonderful opportunities for colorful landscape and nature photography. Depending on rainfall, temperatures, and location, hillsides may fill with wildflowers, and familiar trails can look completely different from one year to the next. California poppies are especially recognizable, but smaller flowers and the surrounding landscape can be just as interesting.
The key is paying attention to both the flowers and the light. Bright midday sun can create strong contrast and make some colors difficult to expose evenly. Early morning and late afternoon often provide softer light, while bright overcast conditions can work well for close-up flower photography. Look for a single flower against a distant hillside, or use a wider lens to show how the blooms fit into the landscape.
Bloom timing varies considerably with rainfall, elevation, and local conditions, so it's worth checking recent reports before making a dedicated trip.
Recommended camera settings:
Aperture: f/8 to f/11 for broad landscapes, or f/2.8 to f/5.6 for individual flowers.
ISO: 100 to 400 in good light.
Shutter speed: Around 1/250 second or faster when flowers are moving in the breeze.
White balance: Daylight for natural color, or Auto as a starting point.
Photography tip: Get low and experiment with your angle. Photographing at flower height can make the blooms feel more prominent and reveal the landscape behind them. Stay on designated trails and avoid stepping on flowers to reach a composition.
8. Tropical Summer Photography
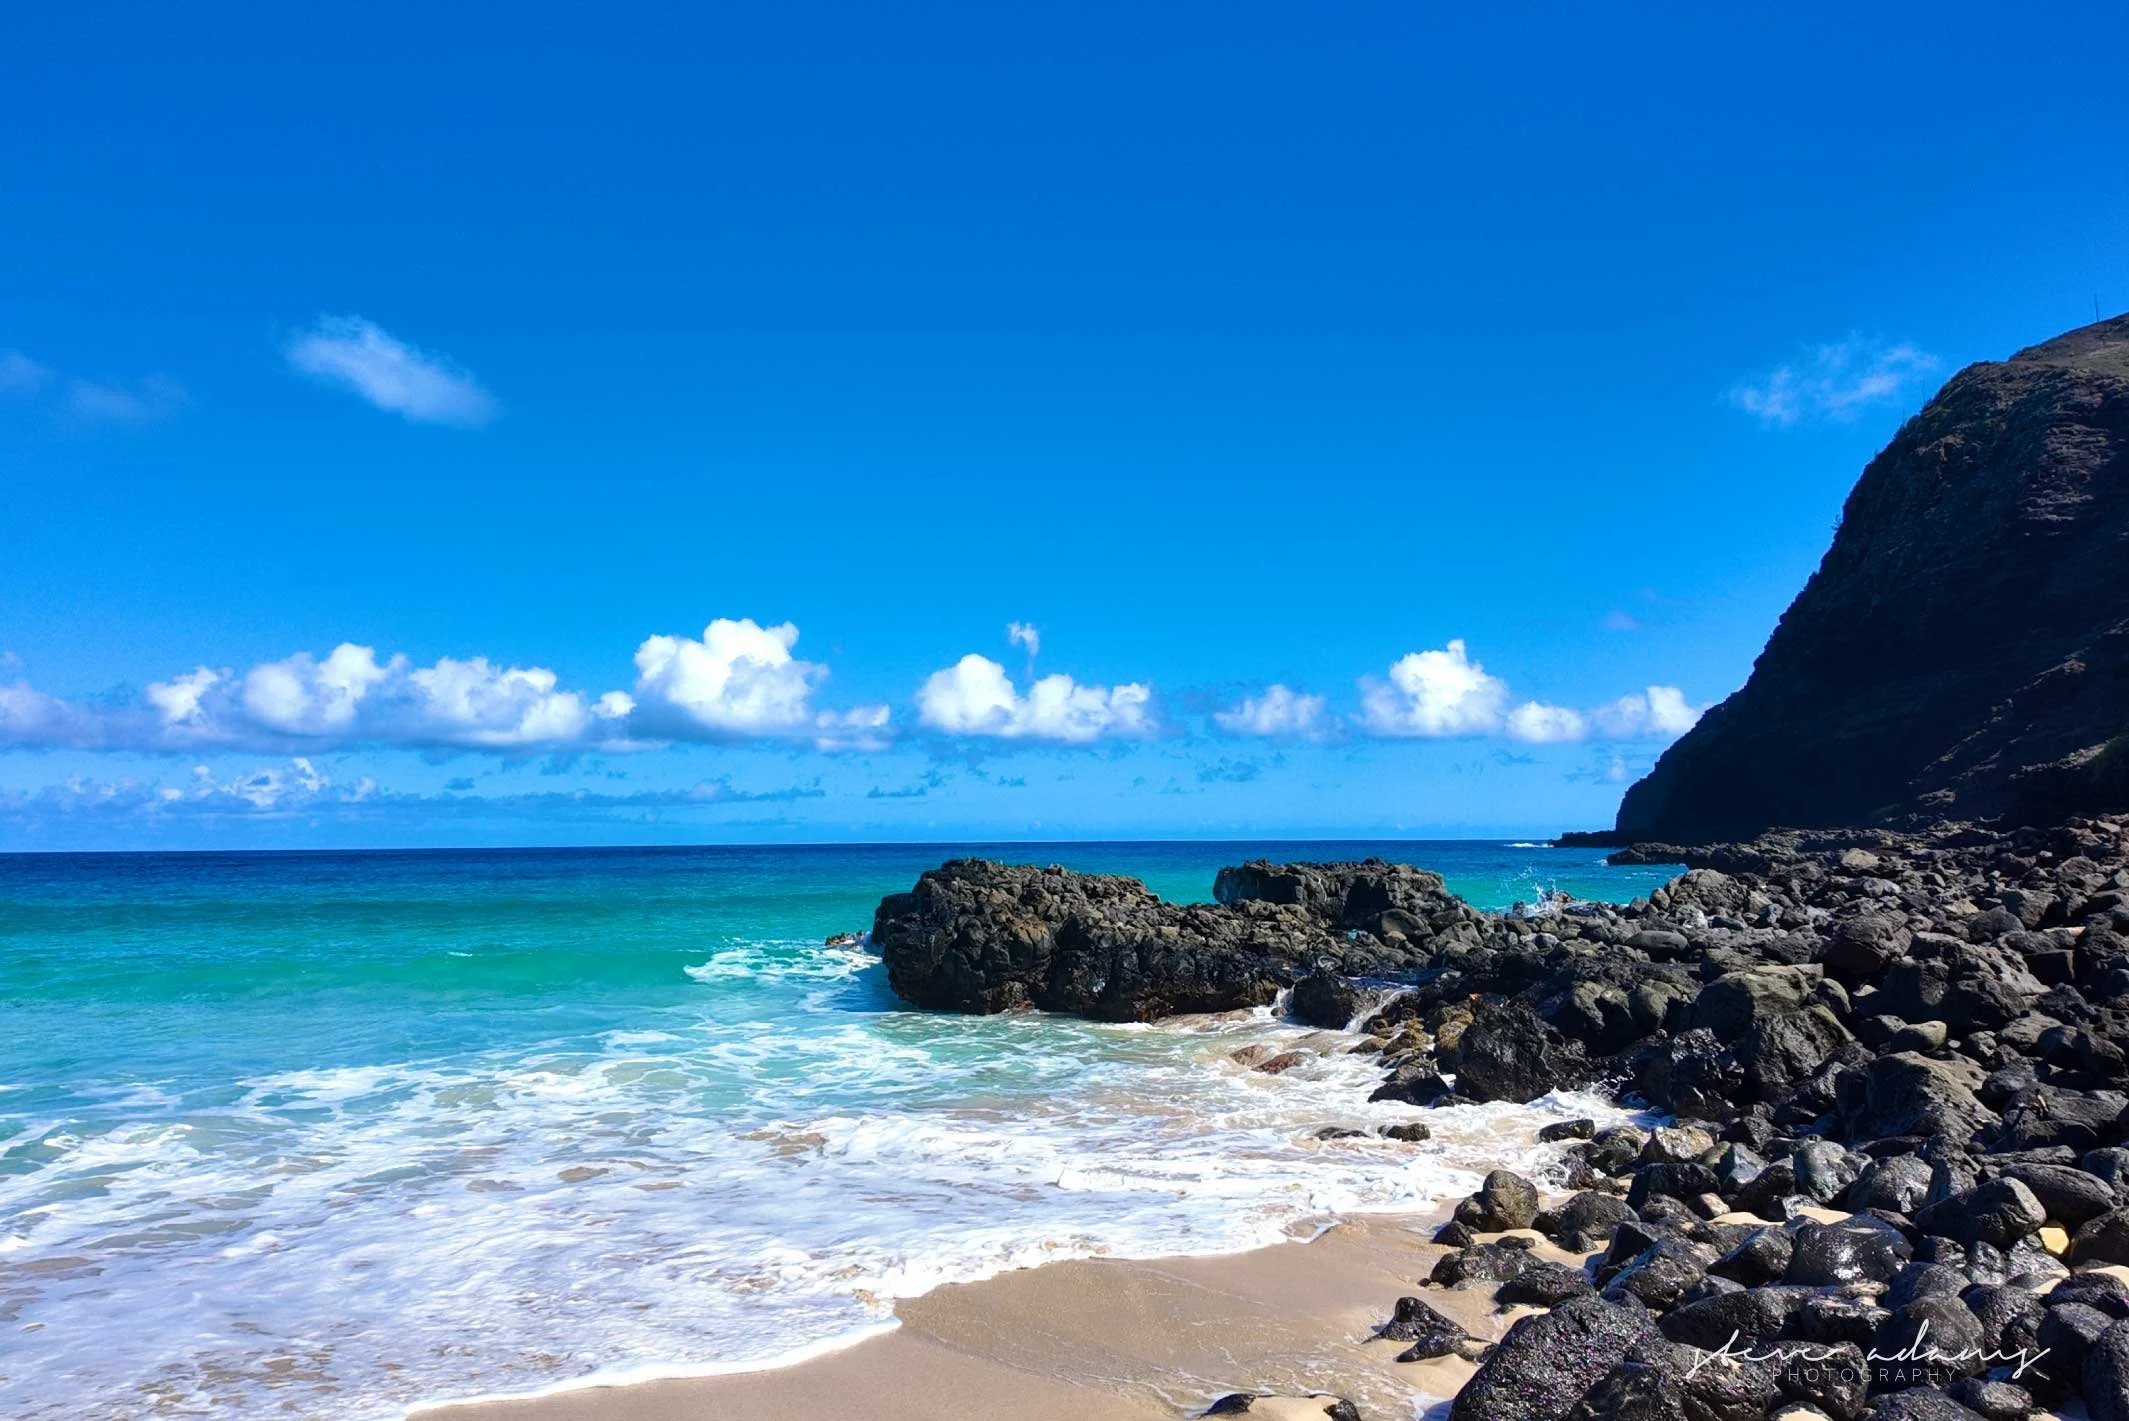
What to look for: Bright turquoise water, lush green vegetation, colorful buildings, palm trees, dramatic clouds, and strong sunlight.
Tropical summer offers a different photographic style from the softer conditions of early morning or overcast weather. Bright sunlight can create vivid colors, strong shadows, and a sense of energy. It's well suited to beach scenes, travel photography, architecture, colorful markets, and landscapes with clear contrasts between water, sand, and vegetation.
The main challenge is managing the strong light. Midday sun can create deep shadows and bright highlights, particularly around white sand, reflective water, and brightly colored surfaces. Rather than avoiding the conditions entirely, look for compositions that use the contrast deliberately. Palm tree silhouettes, patterns of shade, and colorful subjects against darker backgrounds can all work well.
Early morning and late afternoon remain useful for softer light, especially for portraits and landscapes. If you photograph around midday, pay close attention to exposure and consider moving your subject into open shade when possible.
Recommended camera settings:
Aperture: f/8 to f/11 for landscapes, or f/4 to f/5.6 for travel details.
ISO: 100 to 200 in bright conditions.
Shutter speed: Around 1/500 second or faster for moving people, waves, or palm leaves in the wind.
White balance: Daylight for consistent color, or Auto for changing conditions.
Photography tip: Protect your highlights, particularly on white sand and reflective water. Check the brightest areas of your image, and don't be afraid to use shadows as part of the composition. They can add shape and depth to an otherwise very bright scene.
A Final Thought
Learning to recognize good photography conditions gives you more options whenever you head outside with your camera. Instead of hoping for perfect weather, start paying attention to what the conditions offer. A cloudy afternoon may be ideal for flowers, while a frosty morning might inspire you to look closer at the details around you.
The settings above are starting points, and you'll often need to adjust them to suit your subject and available light. Experiment with different apertures, shutter speeds, and exposure levels, and pay attention to how each change affects the final photograph. The more you practice, the easier it becomes to recognize an opportunity and know how to approach it.
