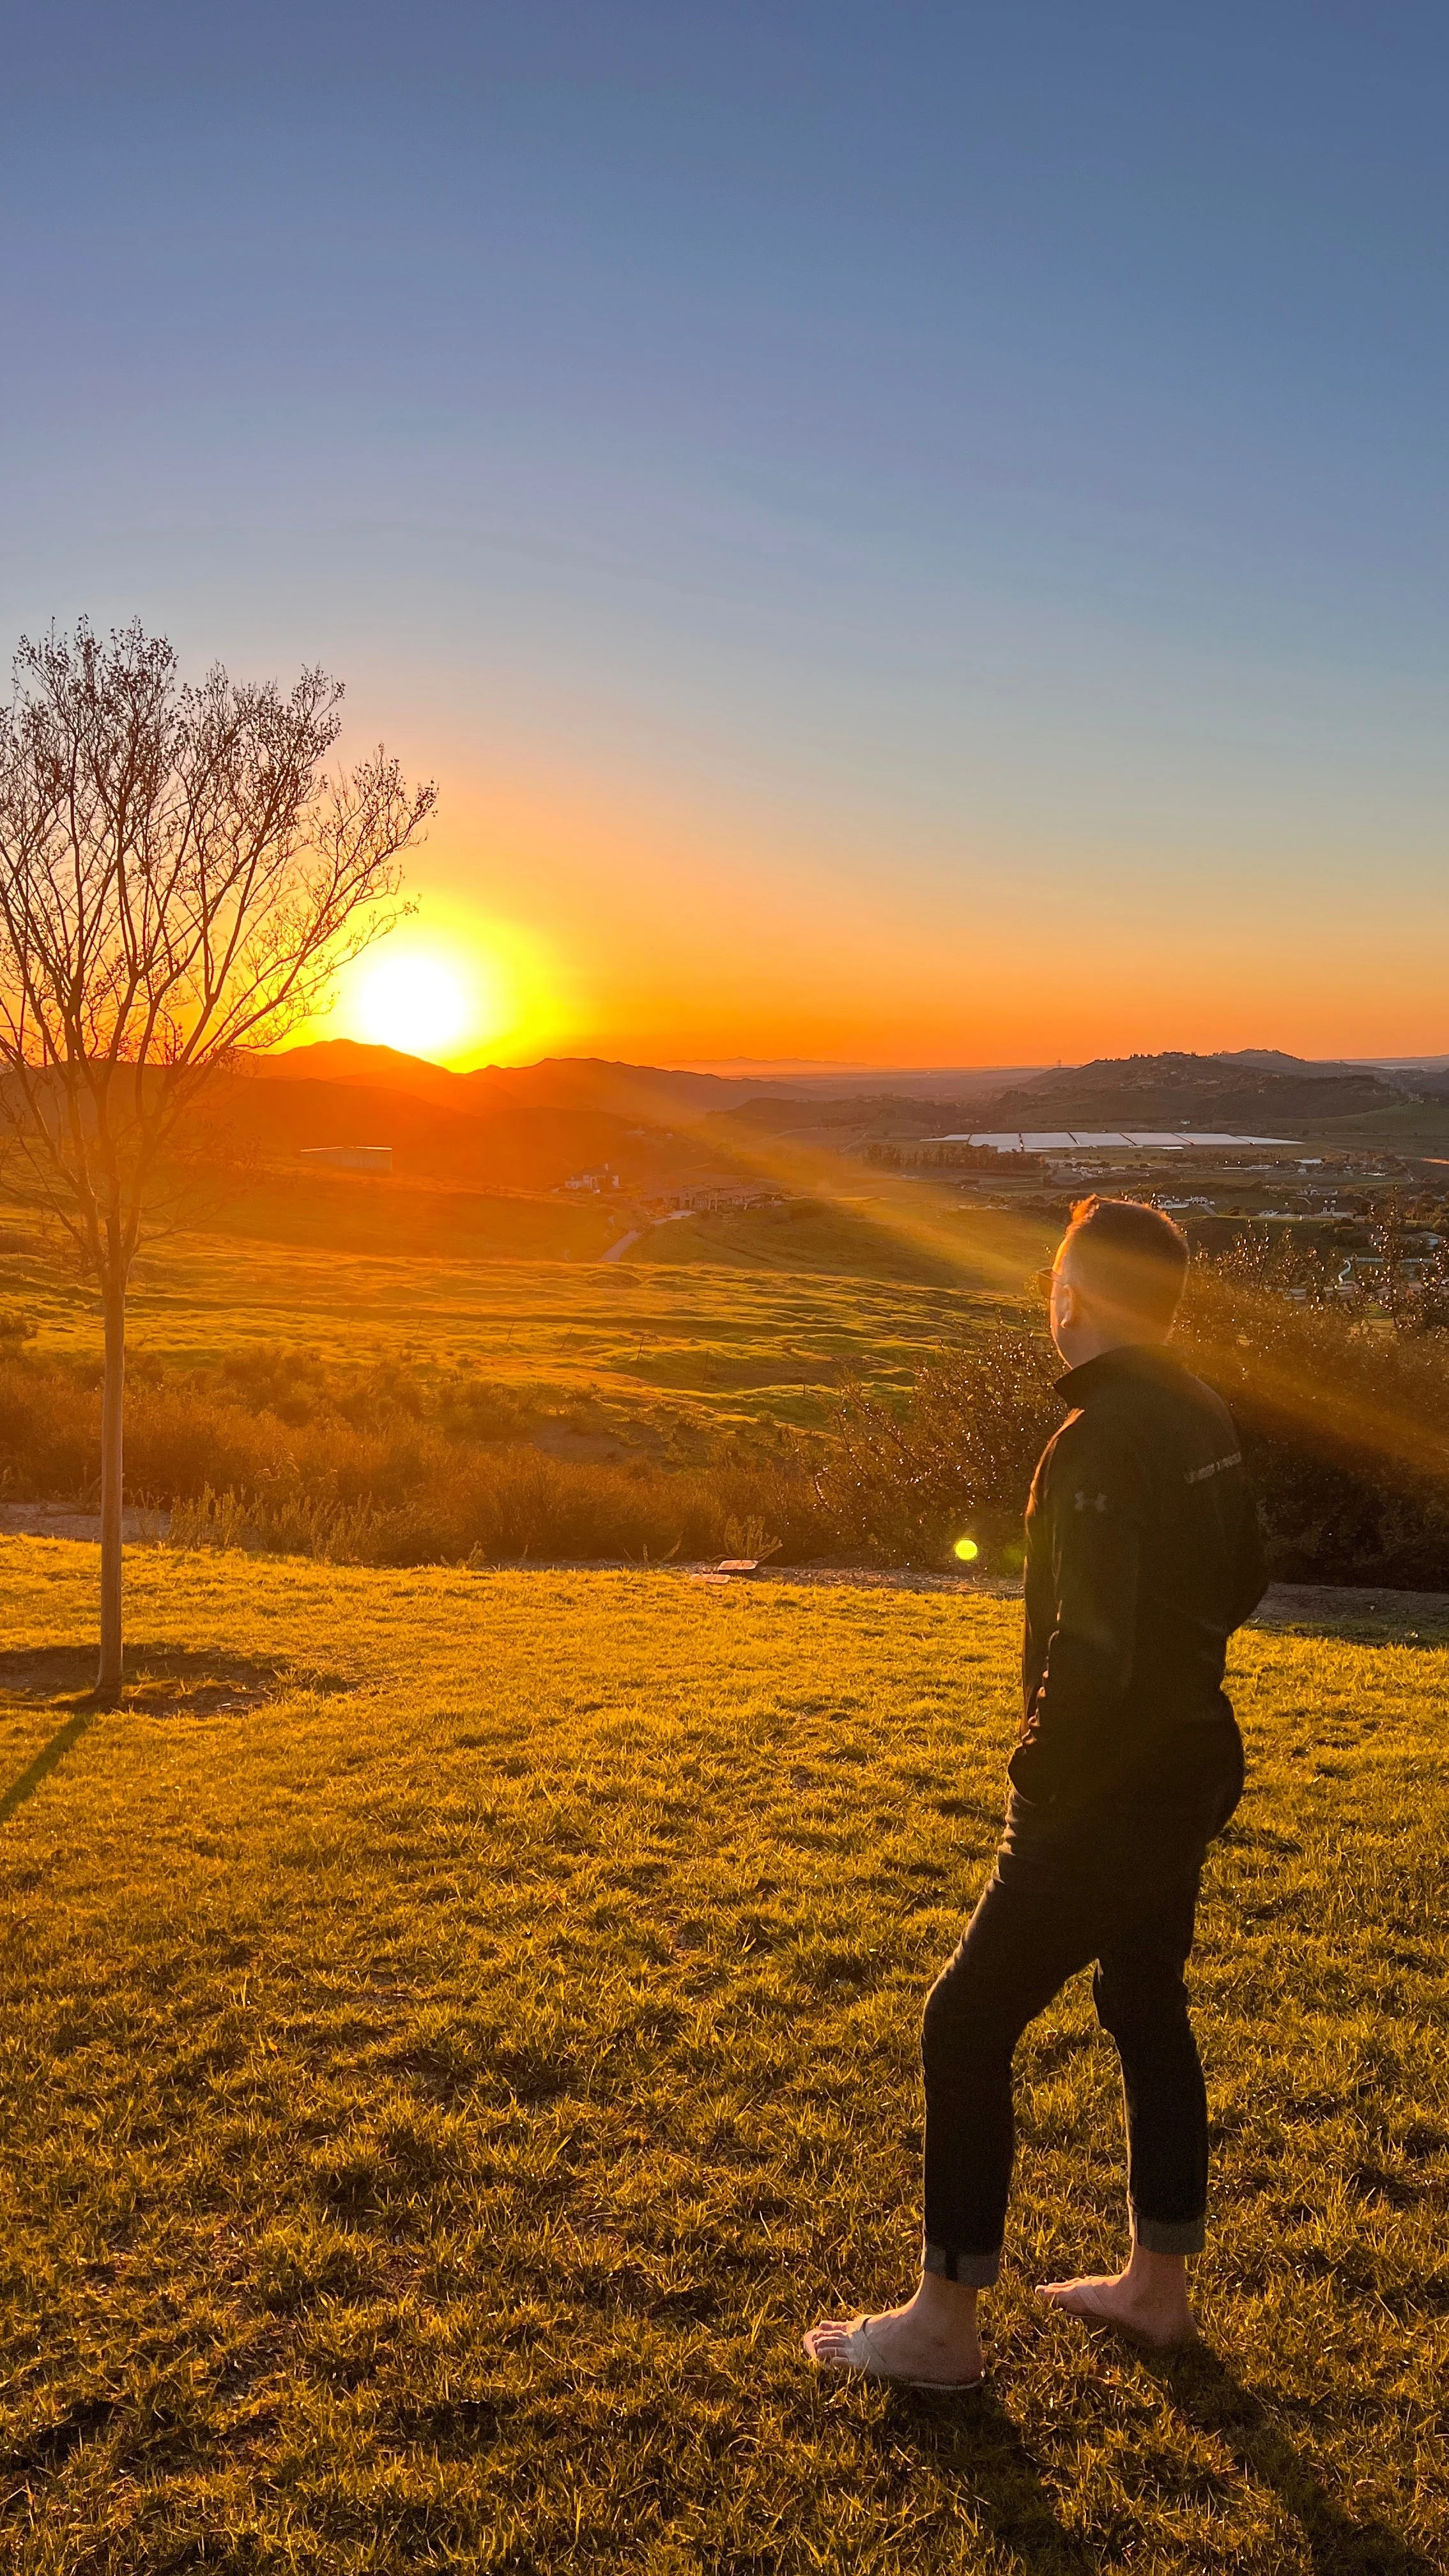
Sunset Photography Tips: How to capture better sunset photos
There is a reason sunset photography is one of the first things many of us fall in love with when we pick up a camera. The light changes quickly, the colors can shift from minute to minute, and even a familiar place can look completely different when the sun starts dropping toward the horizon.
For me, photographing a sunset is less about trying to force the perfect picture and more about paying attention to what is happening around me. The light, clouds, reflections, shadows, and everything happening just before and after the sun disappears can all make an image work.
Here are some of the things I keep in mind when I'm out photographing a sunset.
Give yourself more time than you think you need
One of the easiest mistakes in sunset photography is arriving five minutes before sunset.
I've done it. You find your location, get out of the car, grab your camera, and suddenly the light is changing faster than you can keep up with it.
If I'm photographing somewhere I've never been before, I like to arrive early enough to walk around and figure out where I want to be. It gives me time to look at the surroundings instead of immediately worrying about camera settings.
The light before sunset can also be really good. Sometimes the best sunset photo isn't taken when the sun is sitting on the horizon. It can happen twenty or thirty minutes earlier, when the landscape is still getting that warm evening glow.
And don't pack up the second the sun disappears.
Some of my favorite sunset photography opportunities happen after the sun has gone below the horizon. The sky can continue changing color, while the landscape becomes darker and more dramatic.
Look beyond the sun
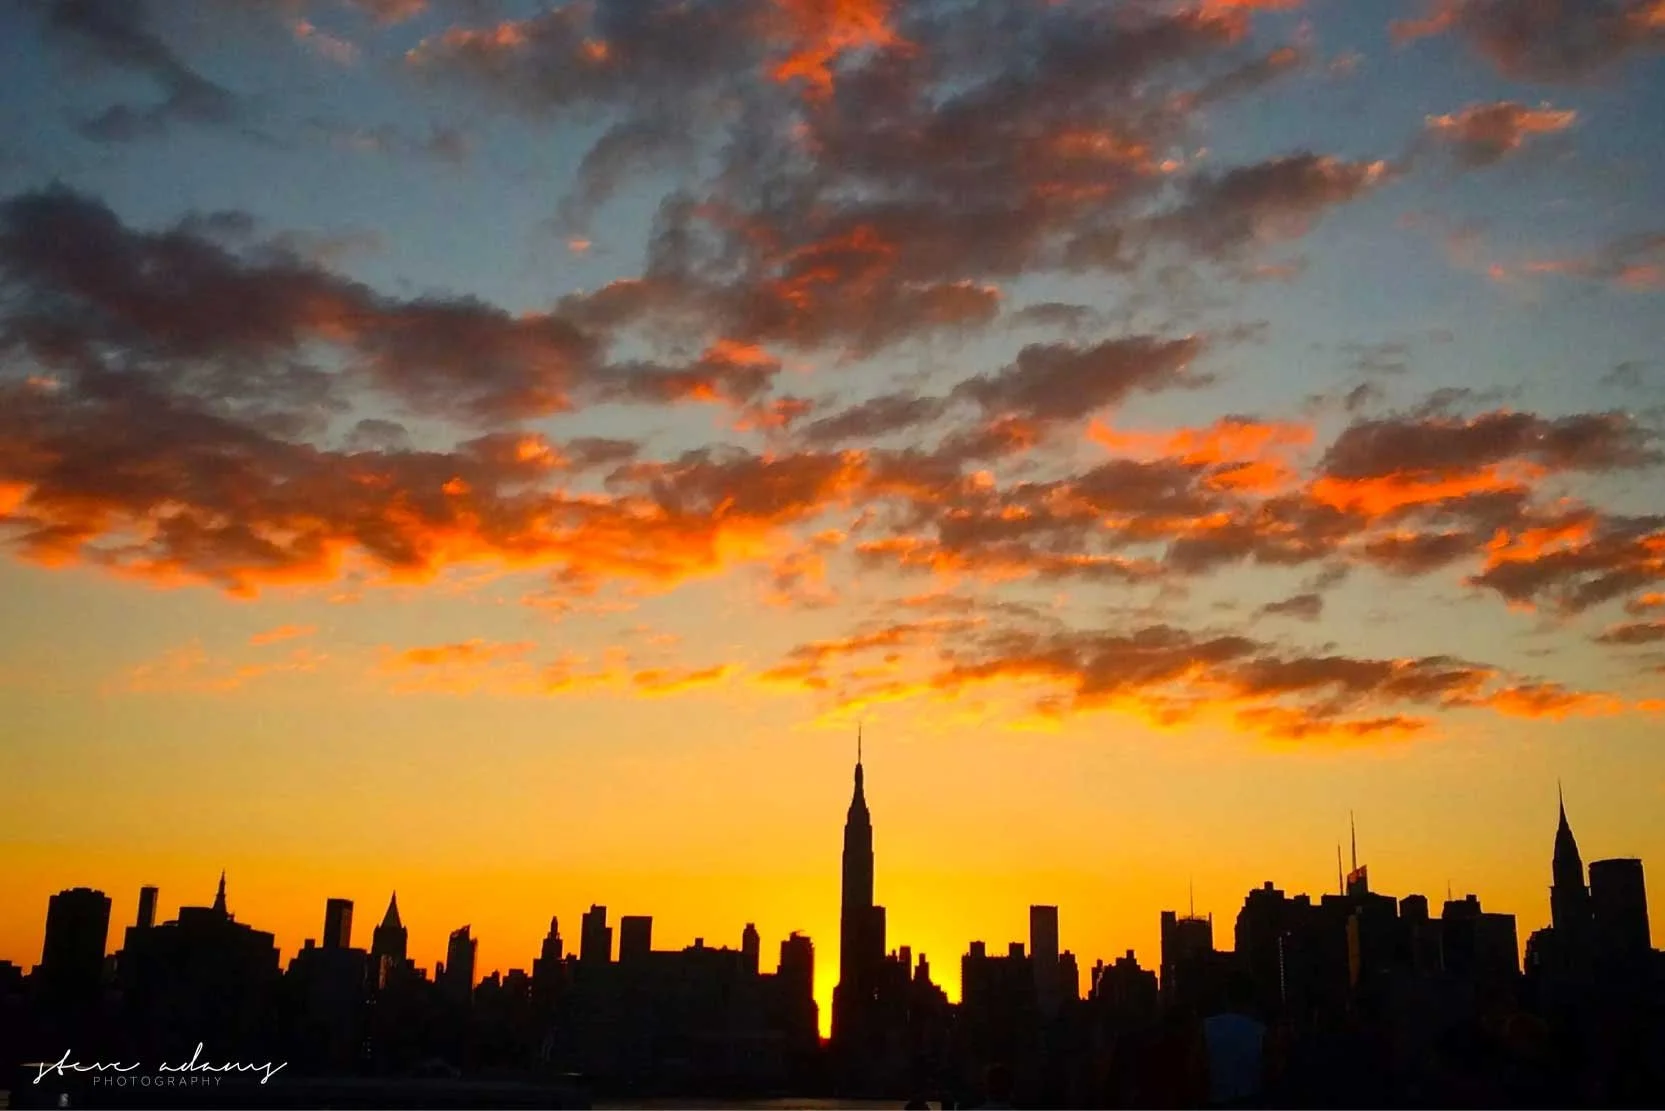
When people think about sunset pictures, they usually think about pointing the camera directly at the sun. That's an obvious place to start, but don't stop there. Turn around. Seriously.
Some of the best sunset light can be behind you. Clouds can pick up color. Buildings can catch warm light. Mountains can become silhouettes. Water can reflect the sky. Even something as simple as a tree, fence, person, or structure can become an interesting foreground.
I try to look at the entire scene rather than treating the sun as the subject. A sunset is really about light, and light doesn't only exist where the sun is visible.
Find something interesting in the foreground
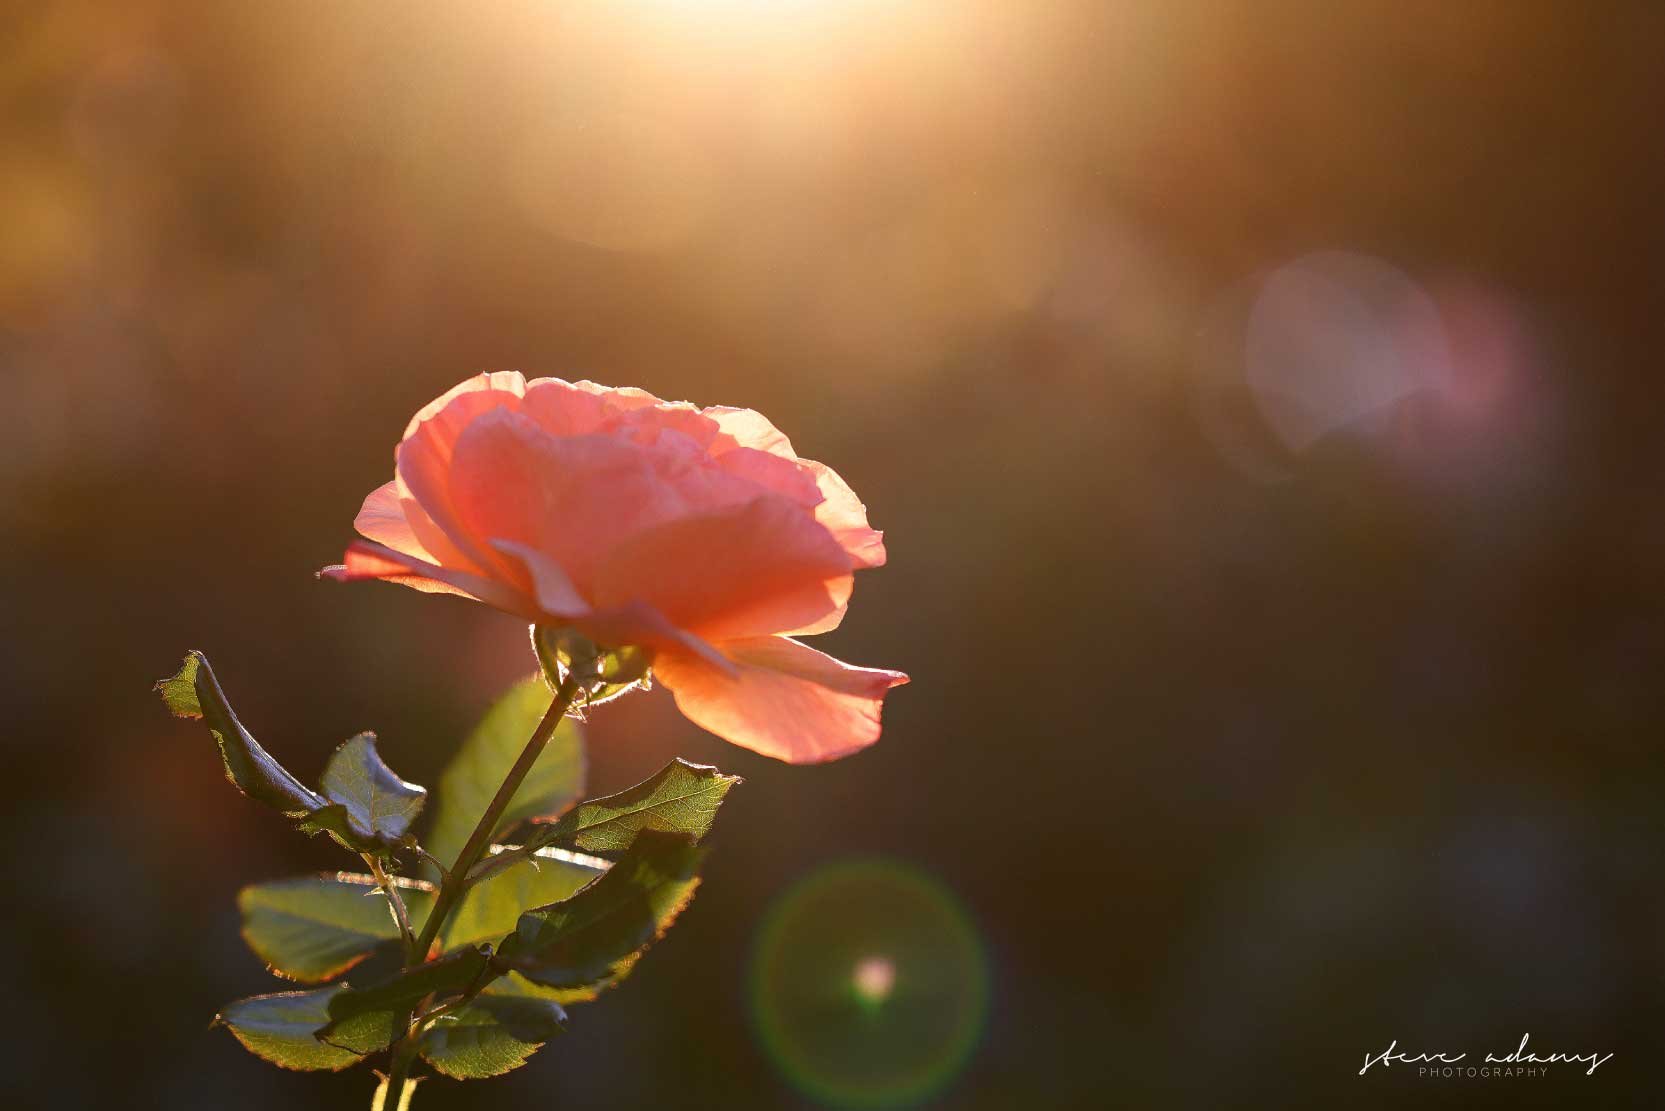
A colorful sky can make a beautiful photograph, but a great sky by itself doesn't always make a great composition. Look for something to put in front of it.
Something small works well: rock, tree, or even a simply flower. Try a larger object as well: A pier, a friend or famly member, shorline or even just a building. Whatever fits the location and the compsition of the photos the best. Adding a foreground element gives the viewer something to look at and can create depth in the photograph.
This is especially useful when you're photographing landscapes at sunset. Instead of simply recording the colors in the sky, you're creating a sense of place. That's something I really like about landscape photography in general. I want the photograph to remind me where I was, not just what the sky looked like.
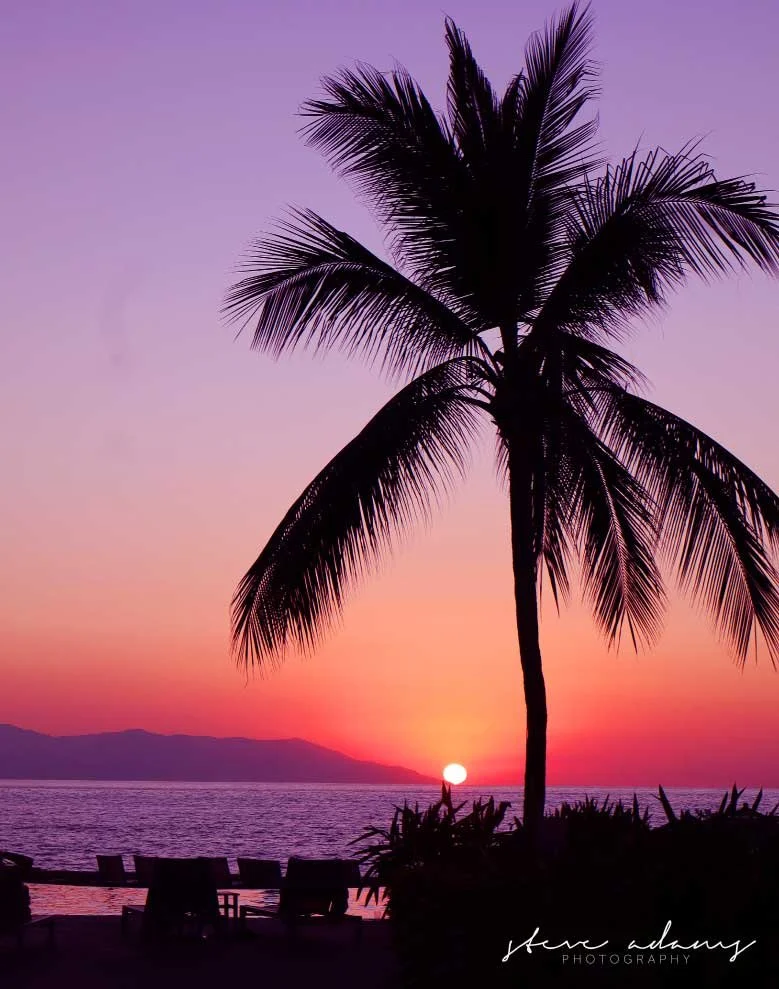
Don't be afraid of silhouettes
Sunset is one of the easiest times to experiment with silhouette photography.
When your subject is between you and the brighter sky, you can expose for the sky and allow the subject to become dark. The result can be simple and graphic.
Trees, people, buildings, boats, birds, and even plants can work really well.
The important thing is to look at the shape of your subject. When most of the detail disappears into shadow, the outline becomes the photograph.
This is one of those situations where you don't necessarily need more detail. Sometimes less is exactly what makes the image work.
Watch your exposure
Sunsets can be tricky for your camera because you're dealing with a very bright light source and much darker surroundings.
If you're photographing directly toward the setting sun, your camera may try to brighten the darker foreground. That can leave the sky looking washed out.
Try checking your exposure instead of automatically trusting what the camera chooses.
If the sky is the important part of the photograph, you may want to expose for the brighter portion of the scene. This can also help preserve color and keep clouds from becoming overly bright.
Your camera's histogram can be useful here. If the highlights are pushed all the way to the edge, you may be losing detail in the brightest areas.
And don't get too caught up in finding one "correct" exposure. Take a few different versions. Digital photography makes experimentation easy, so use it.
Shoot in RAW when you can
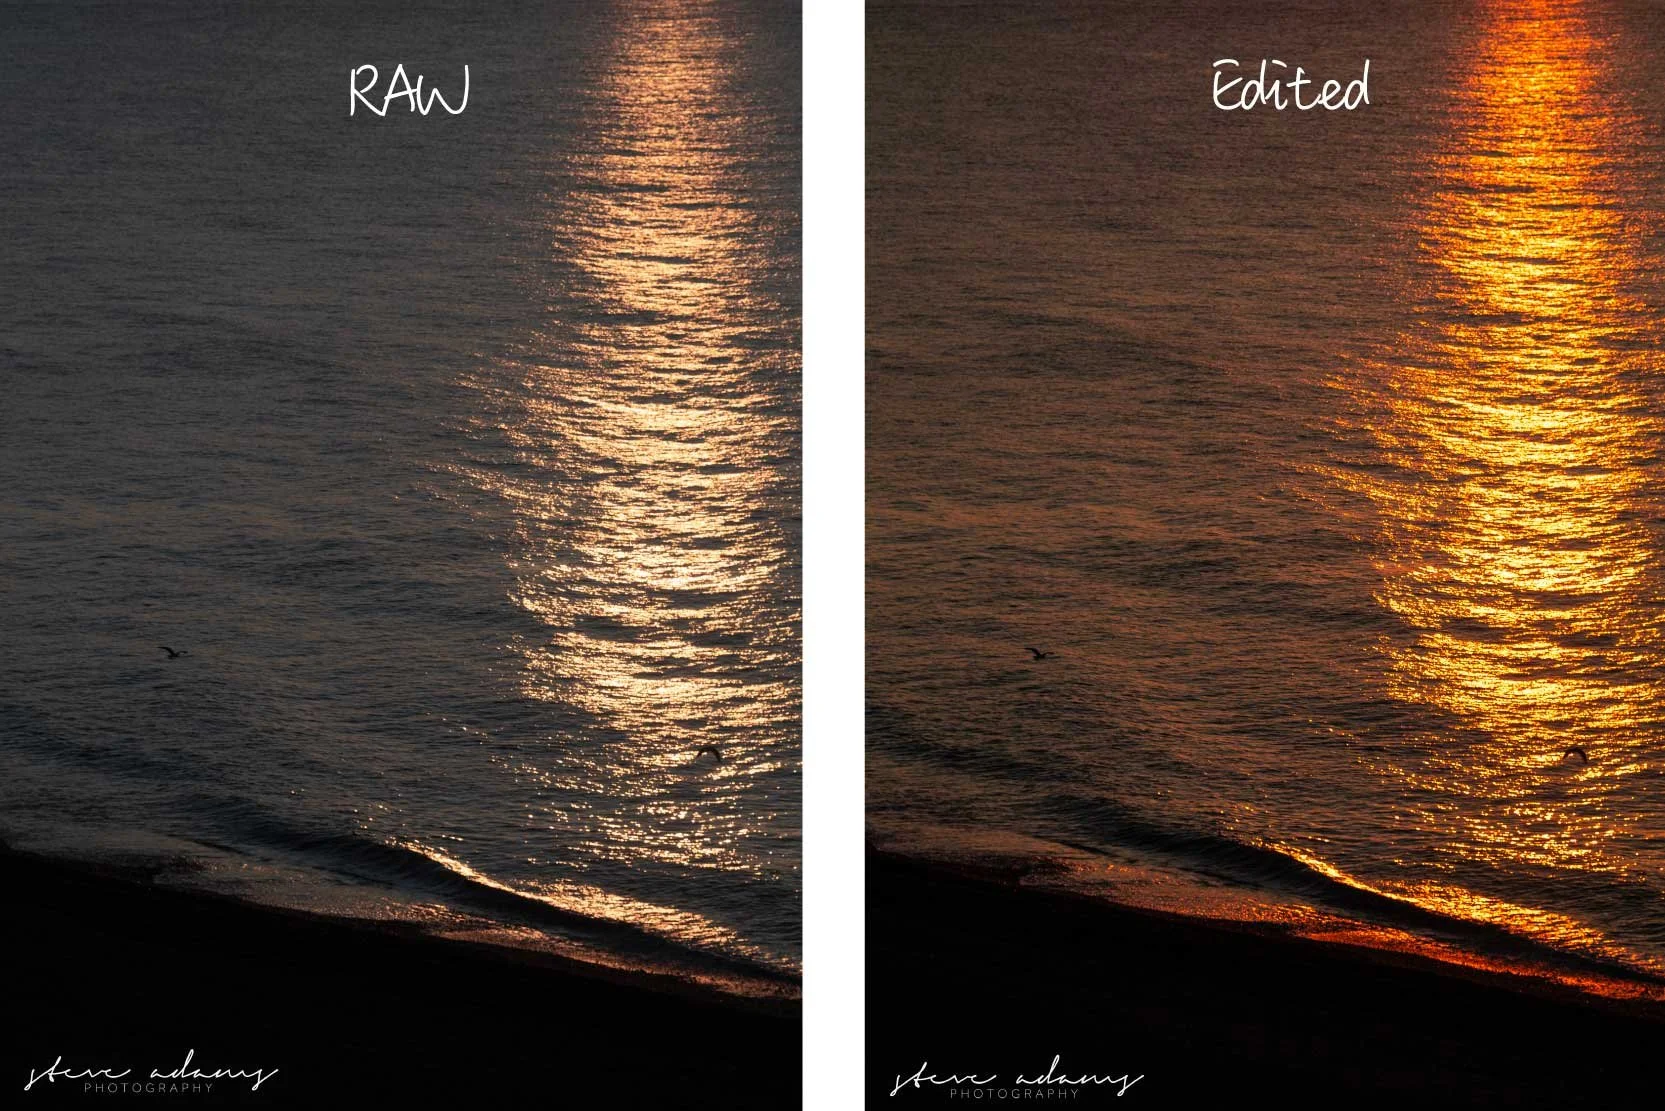
If you're serious about sunset photography, shooting RAW gives you considerably more flexibility when editing. Raw photos flatten the colors, as you can see in the example above. But RAW fives you more creative freedom.
Sunsets often contain a wide range of brightness, from very bright areas around the sun to deep shadows in the foreground. RAW files give you more information to work with when adjusting exposure, highlights, shadows, and color. This can be especially helpful if you're trying to bring back some detail in the darker parts of a landscape without destroying the mood of the photograph.
Sunsets already have strong color, so it doesn't take much editing to push an image too far. I usually want the final photograph to still feel believable. If the sky looked a certain way when I was standing there, I want the photograph to retain some connection to that moment.
Read more about RAW imaging in my recent post.
Try different focal lengths
You don't need a specific "sunset lens" to photograph a good sunset. A wide-angle lens can be great when the landscape is an important part of the composition. You can include a lot of sky while still giving the viewer a sense of the location.
A telephoto lens gives you a completely different perspective. It can compress the scene, make the sun appear larger in relation to the landscape, and allow you to isolate distant subjects. I've found that changing your focal length can completely change how you see the same sunset.
So if you have more than one lens with you, try switching. You might discover that the photograph you really like isn't the one you originally imagined.
Use reflections
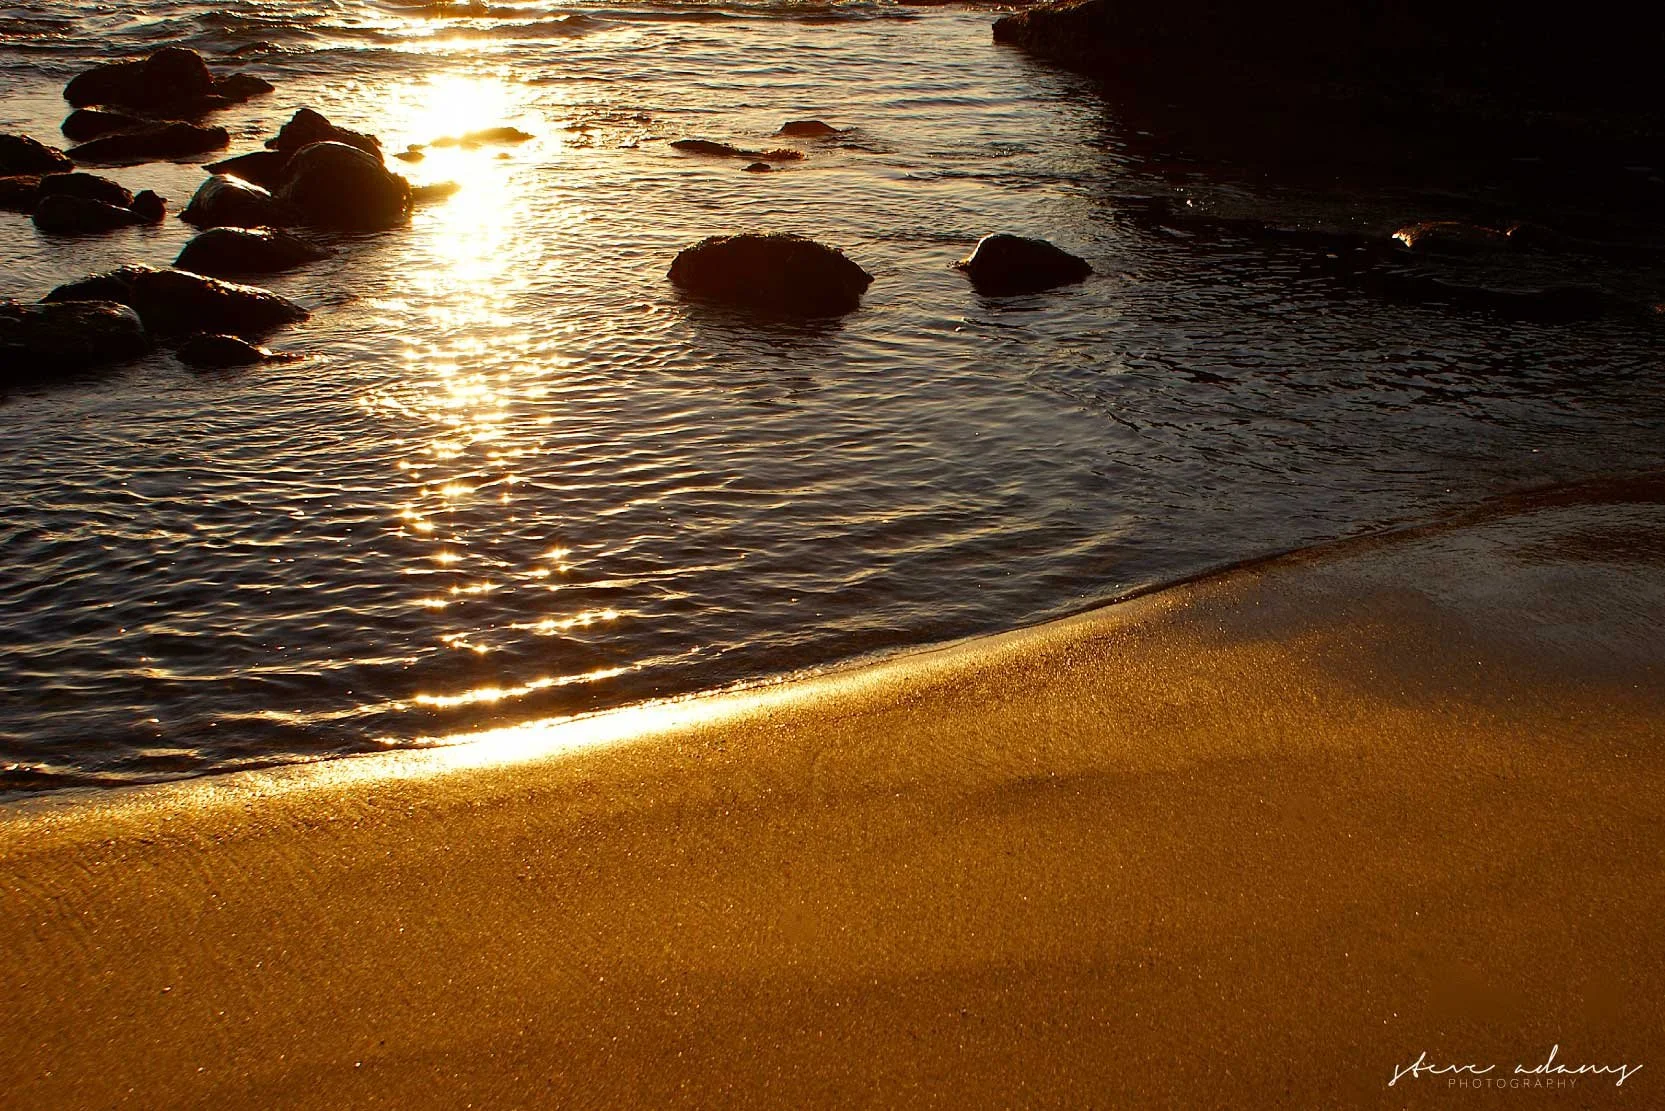
Water and sunset photography are a pretty natural combination.
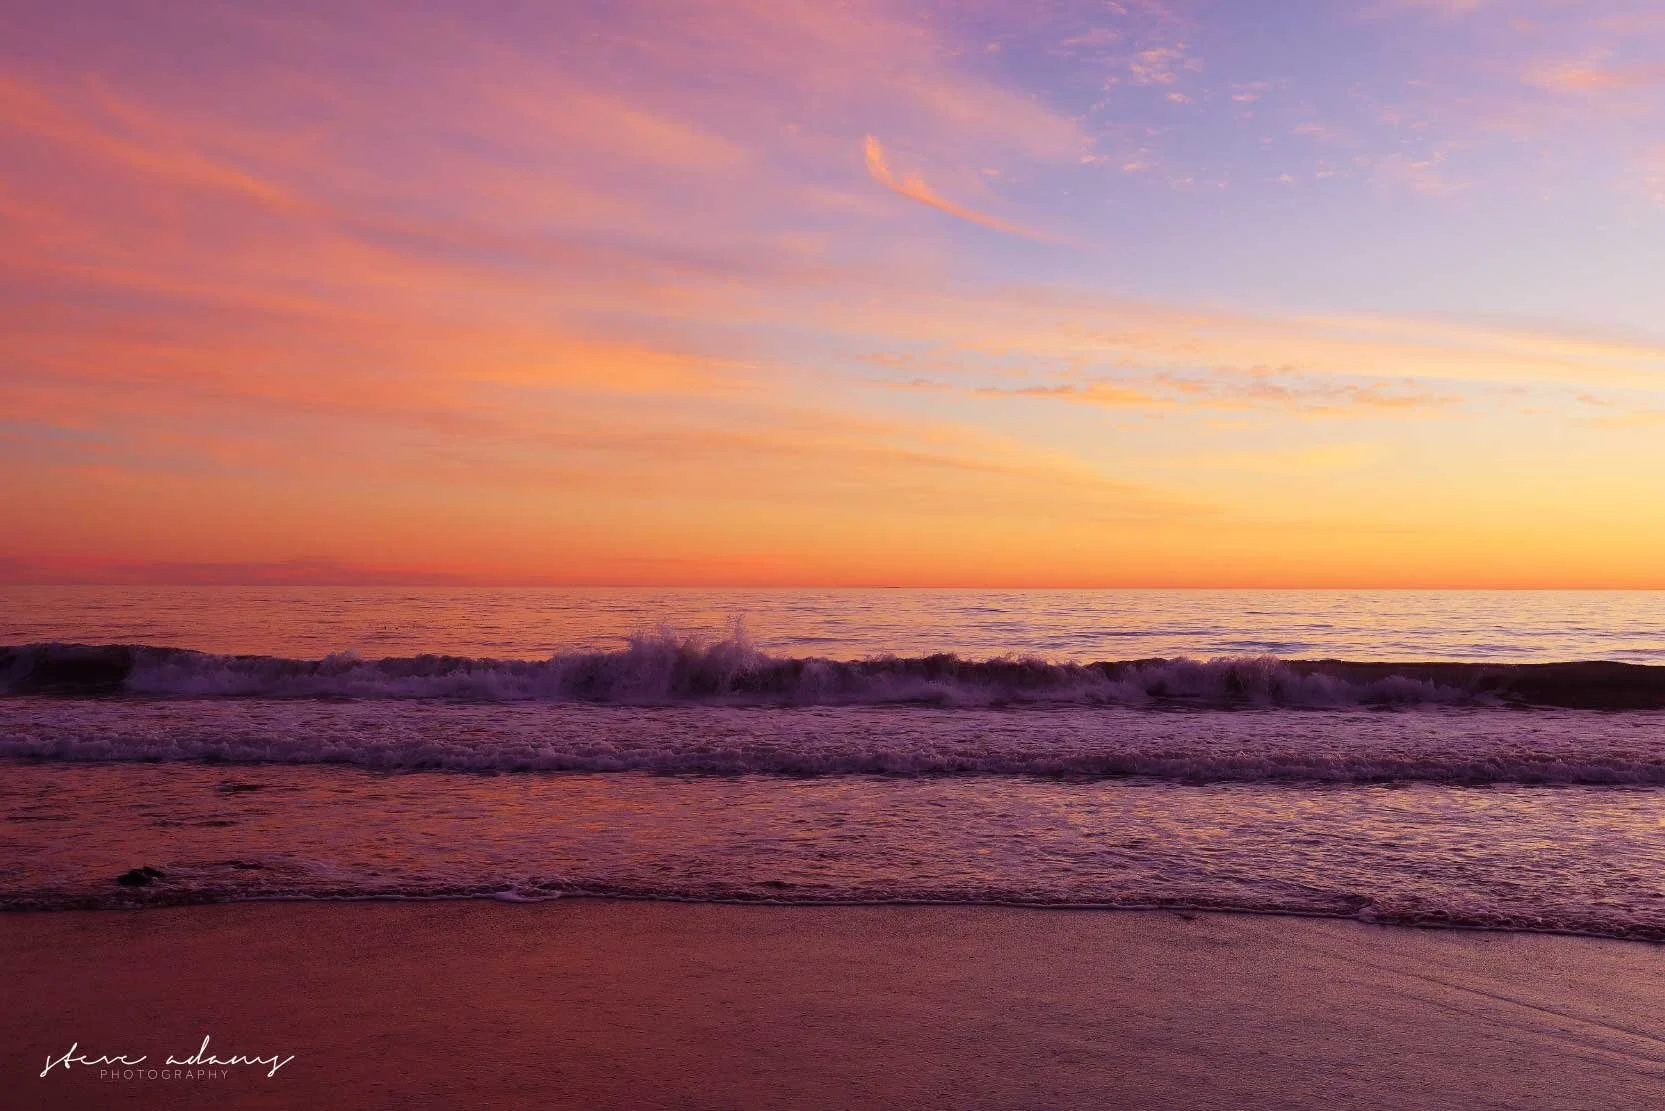
Lakes, oceans, rivers, ponds, and even wet sand can reflect the colors in the sky and add another layer to the composition.
If you're photographing at the beach, don't just stand at the water's edge and point toward the horizon. Look down occasionally. The wet sand can create reflections that lead your eye through the photograph.
Move around and change your position.
Get lower.
Walk farther down the beach.
Look for a puddle or a calm section of water.
Small changes in your position can make a surprisingly big difference.
Don't forget the clouds
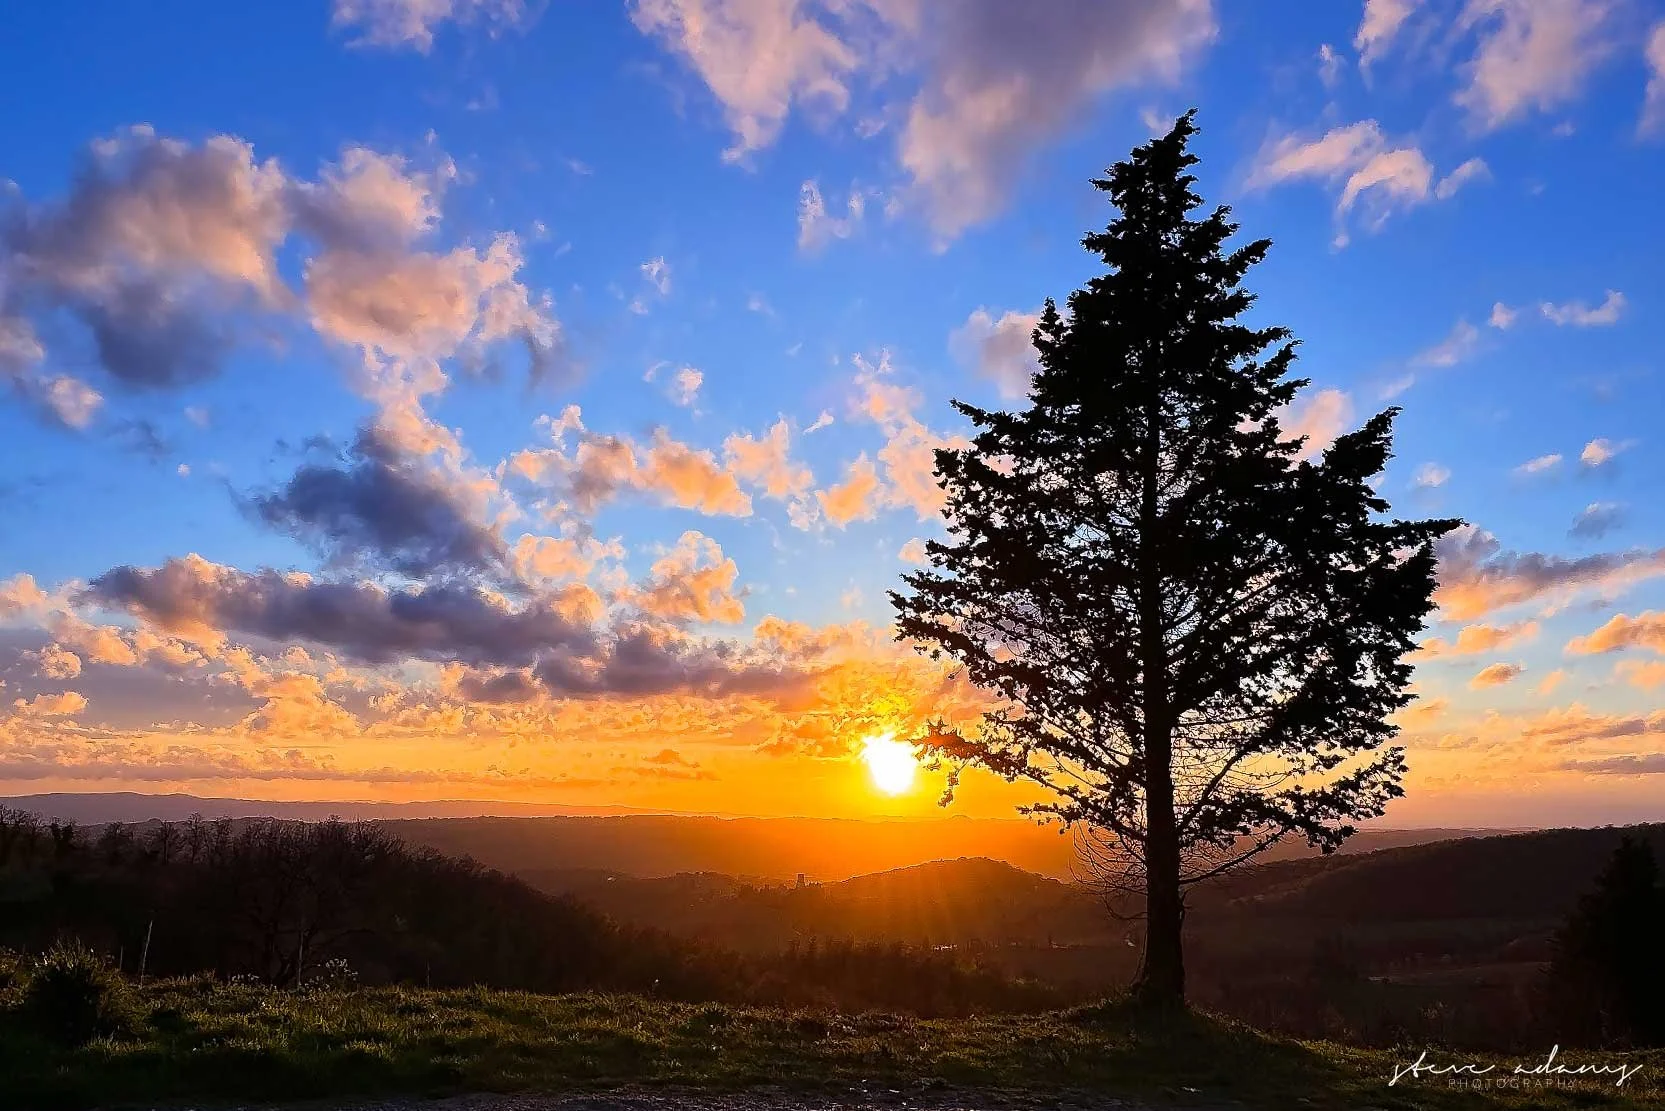
A clear sky can produce a beautiful sunset, but clouds can make the scene much more interesting.
Clouds give the light something to work with. They can catch warm colors, create texture, and add depth to an otherwise empty sky.
I'm always watching the clouds as the sun gets lower. Sometimes they look completely ordinary at 30 minutes before sunset and then suddenly start picking up color. This is another reason I don't like leaving too early. The light is constantly changing.
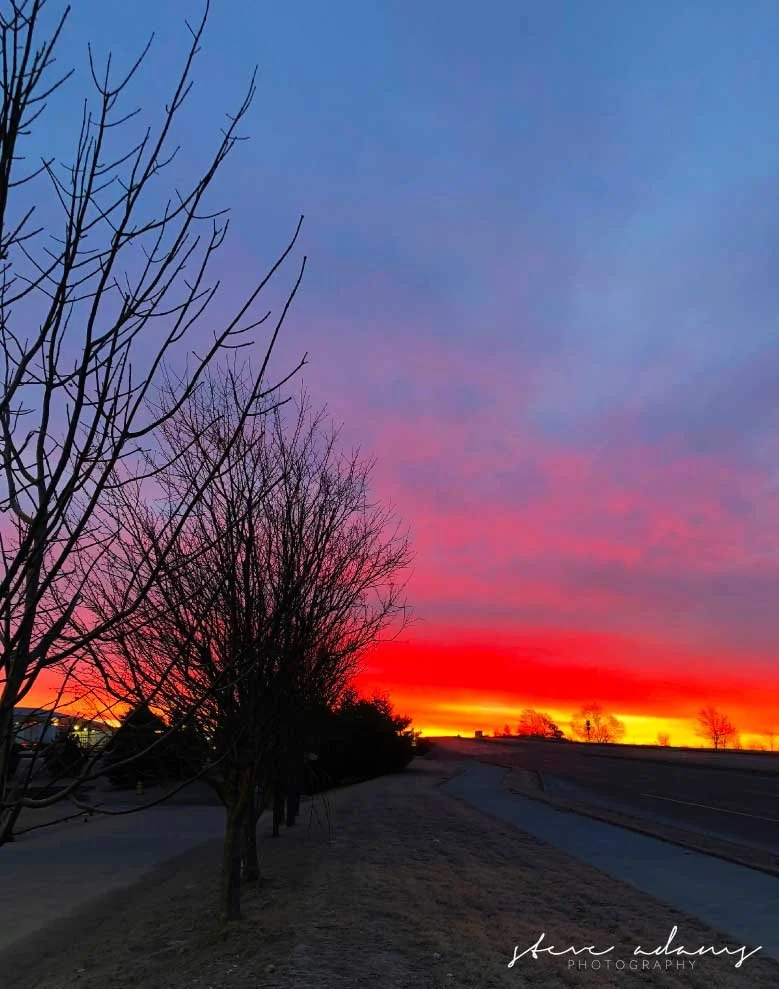
Keep watching after the sun goes down
This might be my favorite sunset photography tip. Often times we’re looking for the iconic shot, the array of colors just before the sun sets. But dont leave when the sun finally sets! Thats when some of the best colors come out. It looks more like a painting at this point!
Yes, stay a little longer. The show is over. It isn't. The sky can continue glowing for quite a while, and the colors can shift from warm yellows and oranges into pinks, purples, and deeper blues.
The contrast between the fading sky and the darker landscape can also create some really interesting photographs.
There is usually a point where the scene becomes much quieter. The bright sunlight is gone, but there is still enough light in the sky to work with. That's when I start looking for different photographs.
The best sunset photo isn't always the most colorful
It's easy to judge a sunset photograph by how dramatic the colors are. Color is alot, but it isn't everything. Sometimes what makes a sunset photograph memorable is the composition, the subject, the atmosphere, or the memory attached to it.
Maybe it's the beach where you spent an evening with your family. Maybe it's a mountain you hiked to reach. Maybe it's a place you had never seen before. For me, I love the bright colors, I chase them - mainly becuase so many people heavily filter their work (read more about why I still showcase full color) but at the end of the day, our photographs take us back to a moment. The photograph becomes a window.
You might remember standing there, waiting for the light to change, watching the clouds move across the sky, or deciding to stay another ten minutes even though I probably should have headed home.
Those little details don't necessarily show up in the photograph, but they're part of the photograph for me.
Give yourself permission to just watch
The biggest piece of sunset photography advice I can give is actually pretty simple. Don't spend the entire sunset looking at the back of your camera. Take some photographs. Change your composition. Try different exposures. Look for reflections and silhouettes. Then put the camera down for a minute - watch.
Sunsets don't last very long, and photography can sometimes make us so focused on getting the shot that we forget to actually experience what brought us there.
For me, that's a big part of why I photograph nature in the first place. Getting outside gives me a chance to slow down, get away from the noise for a while, and actually pay attention to what's happening around me.
Sometimes I'll come home with the photograph I was hoping for. Sometimes I won't. Either way, I was there. And honestly, that's a pretty good reason to go photograph another sunset.